Defective Walter 20V Li-Ion Battery – Complete Teardown and Measurement
A Walter 20V battery from the hardware store suddenly refused to charge. I took it completely apart, measured every single cell, and show you step by step what’s inside and why it failed. Warning: Do NOT attempt this yourself!
Very Important Safety Warning
Li-Ion batteries store enormous amounts of energy and can burst into flames or explode instantly if short-circuited, damaged, or handled incorrectly. Opening the pack carries a real risk of serious injury or death. I accept no responsibility for property damage, personal injury, or worse. This post is purely a personal experience report and is not an invitation to copy it. If you’re unsure, simply take the battery to your local recycling centre – that is the safest and most environmentally friendly option.
A few days ago my Walter 20V Akk suddenly died. The charger flashed red “Defective”. The pack is only about three years old and wasn’t heavily used.
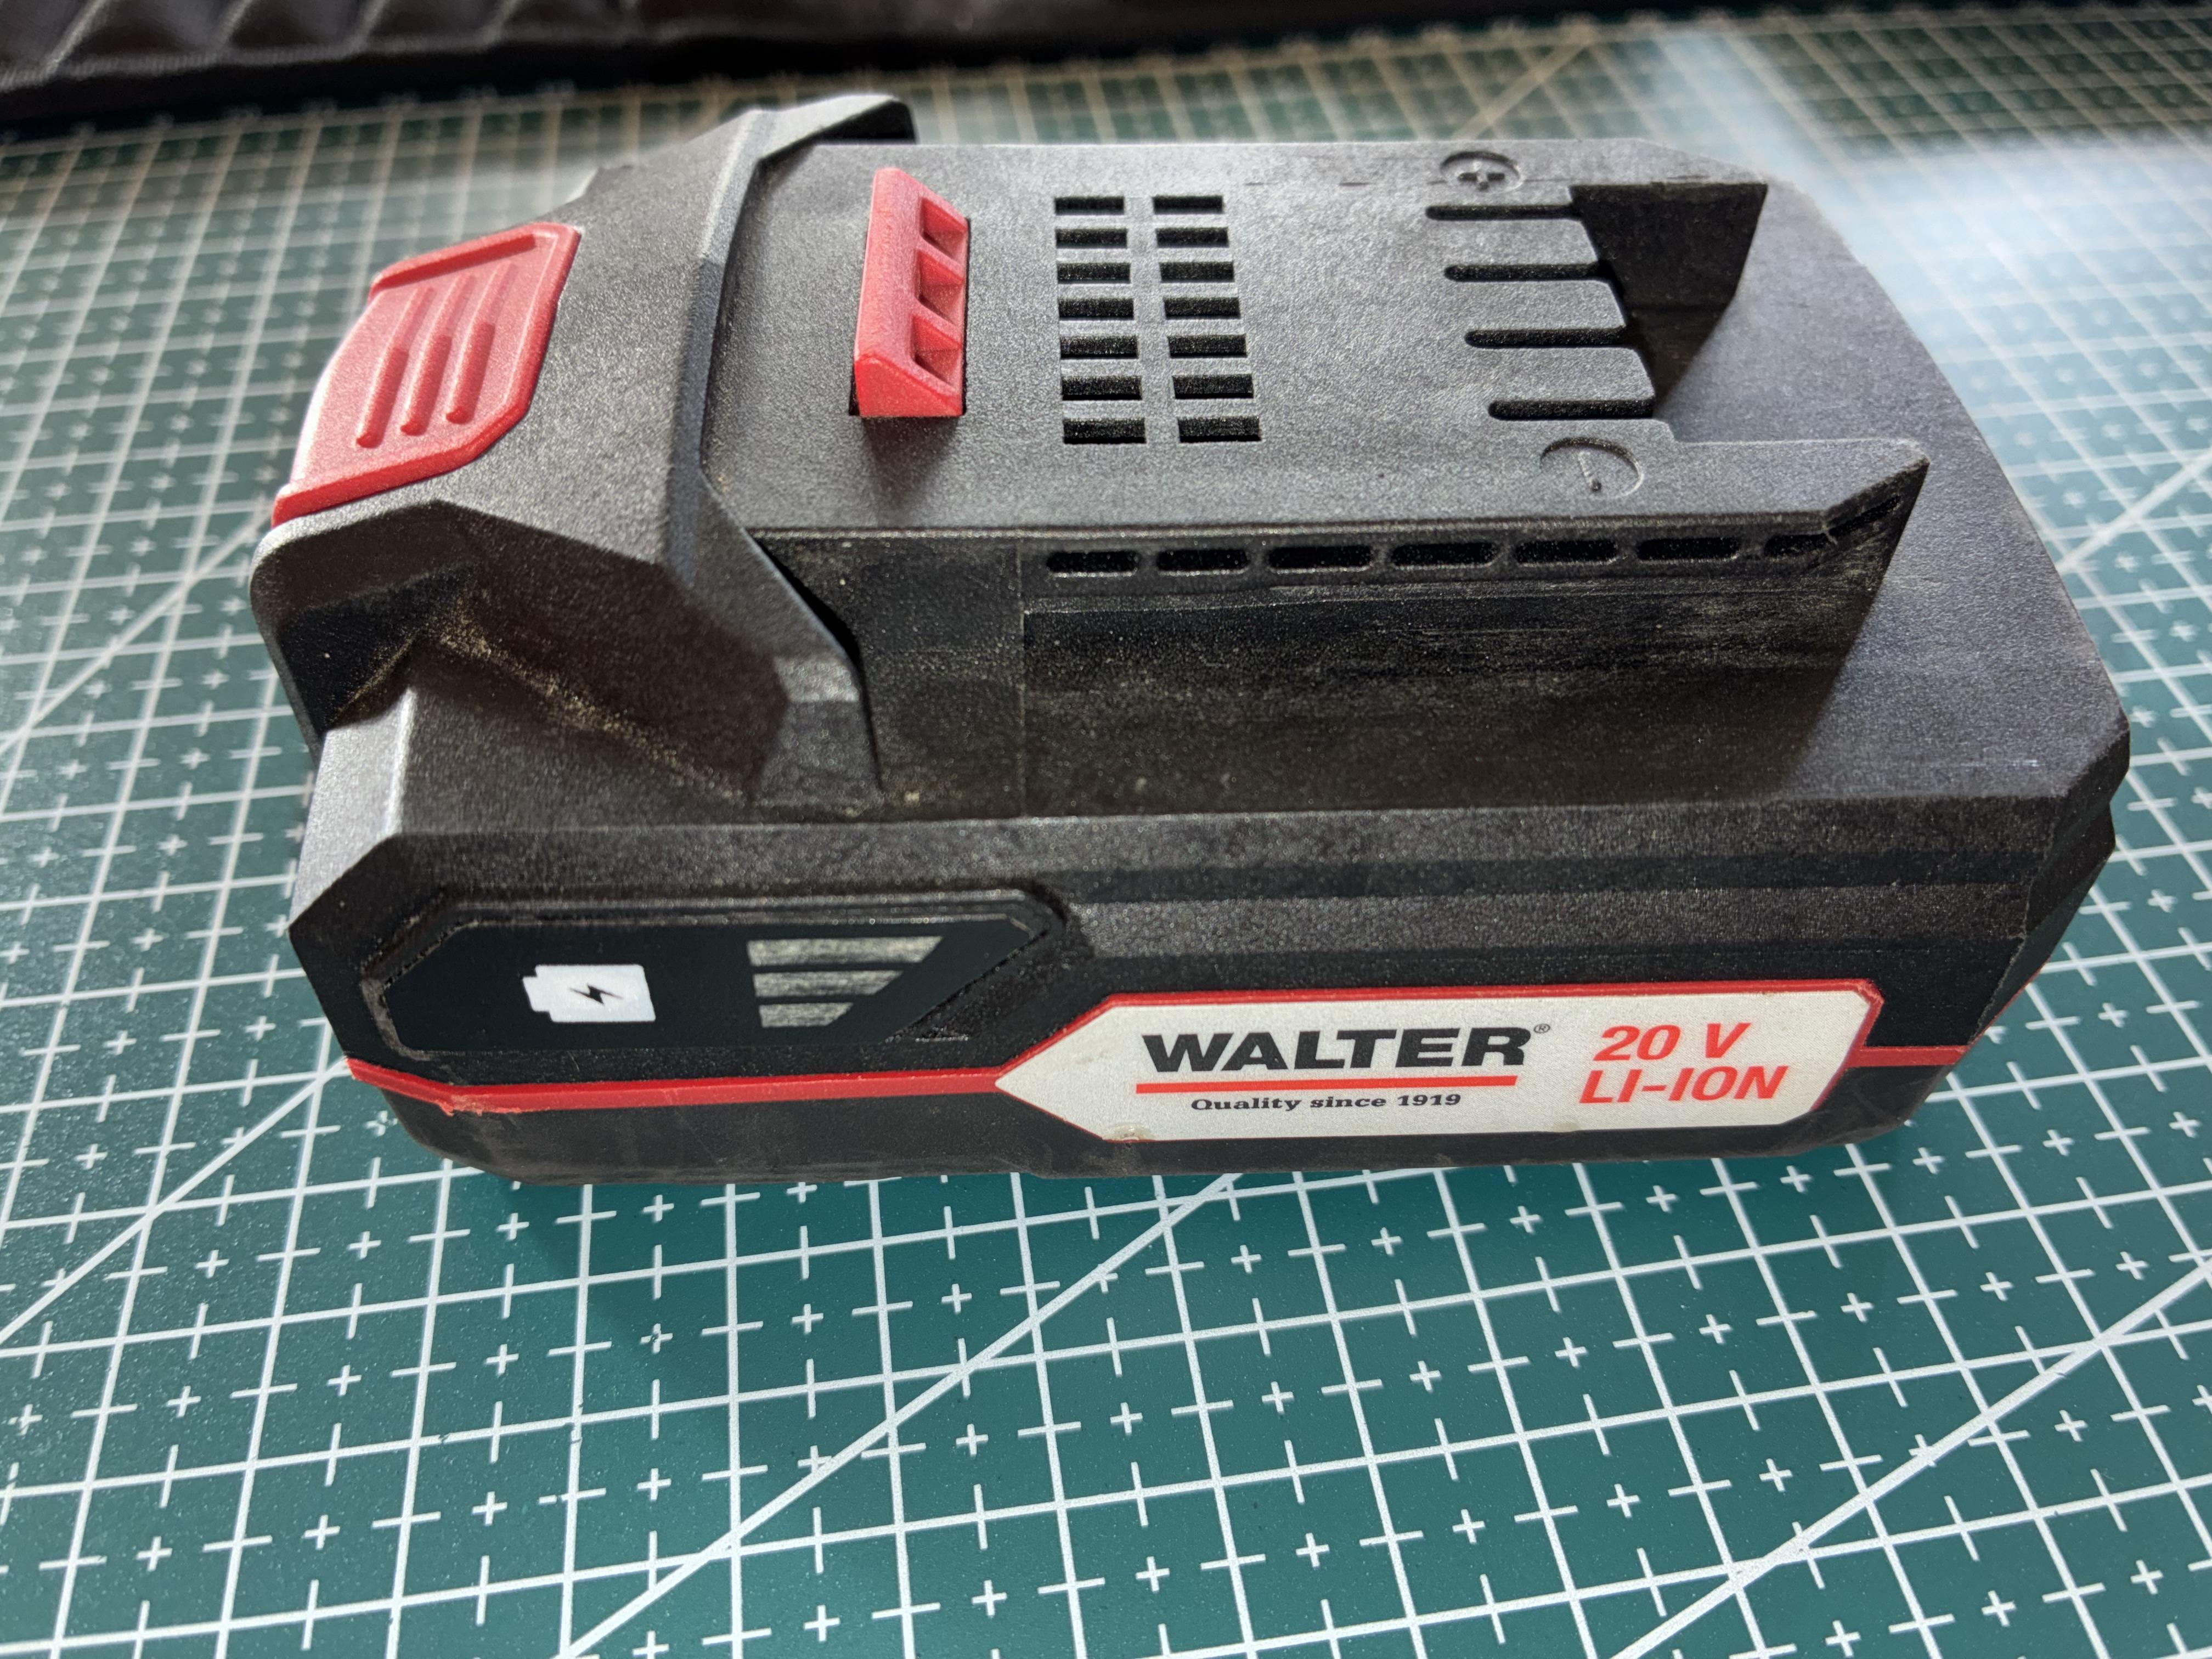
Before throwing it away I wanted to know exactly what had failed.
Step 1: Voltage measurement of the complete pack #
First I checked the total voltage at the main plus and minus terminals with my OWON XDM1241 multimeter.
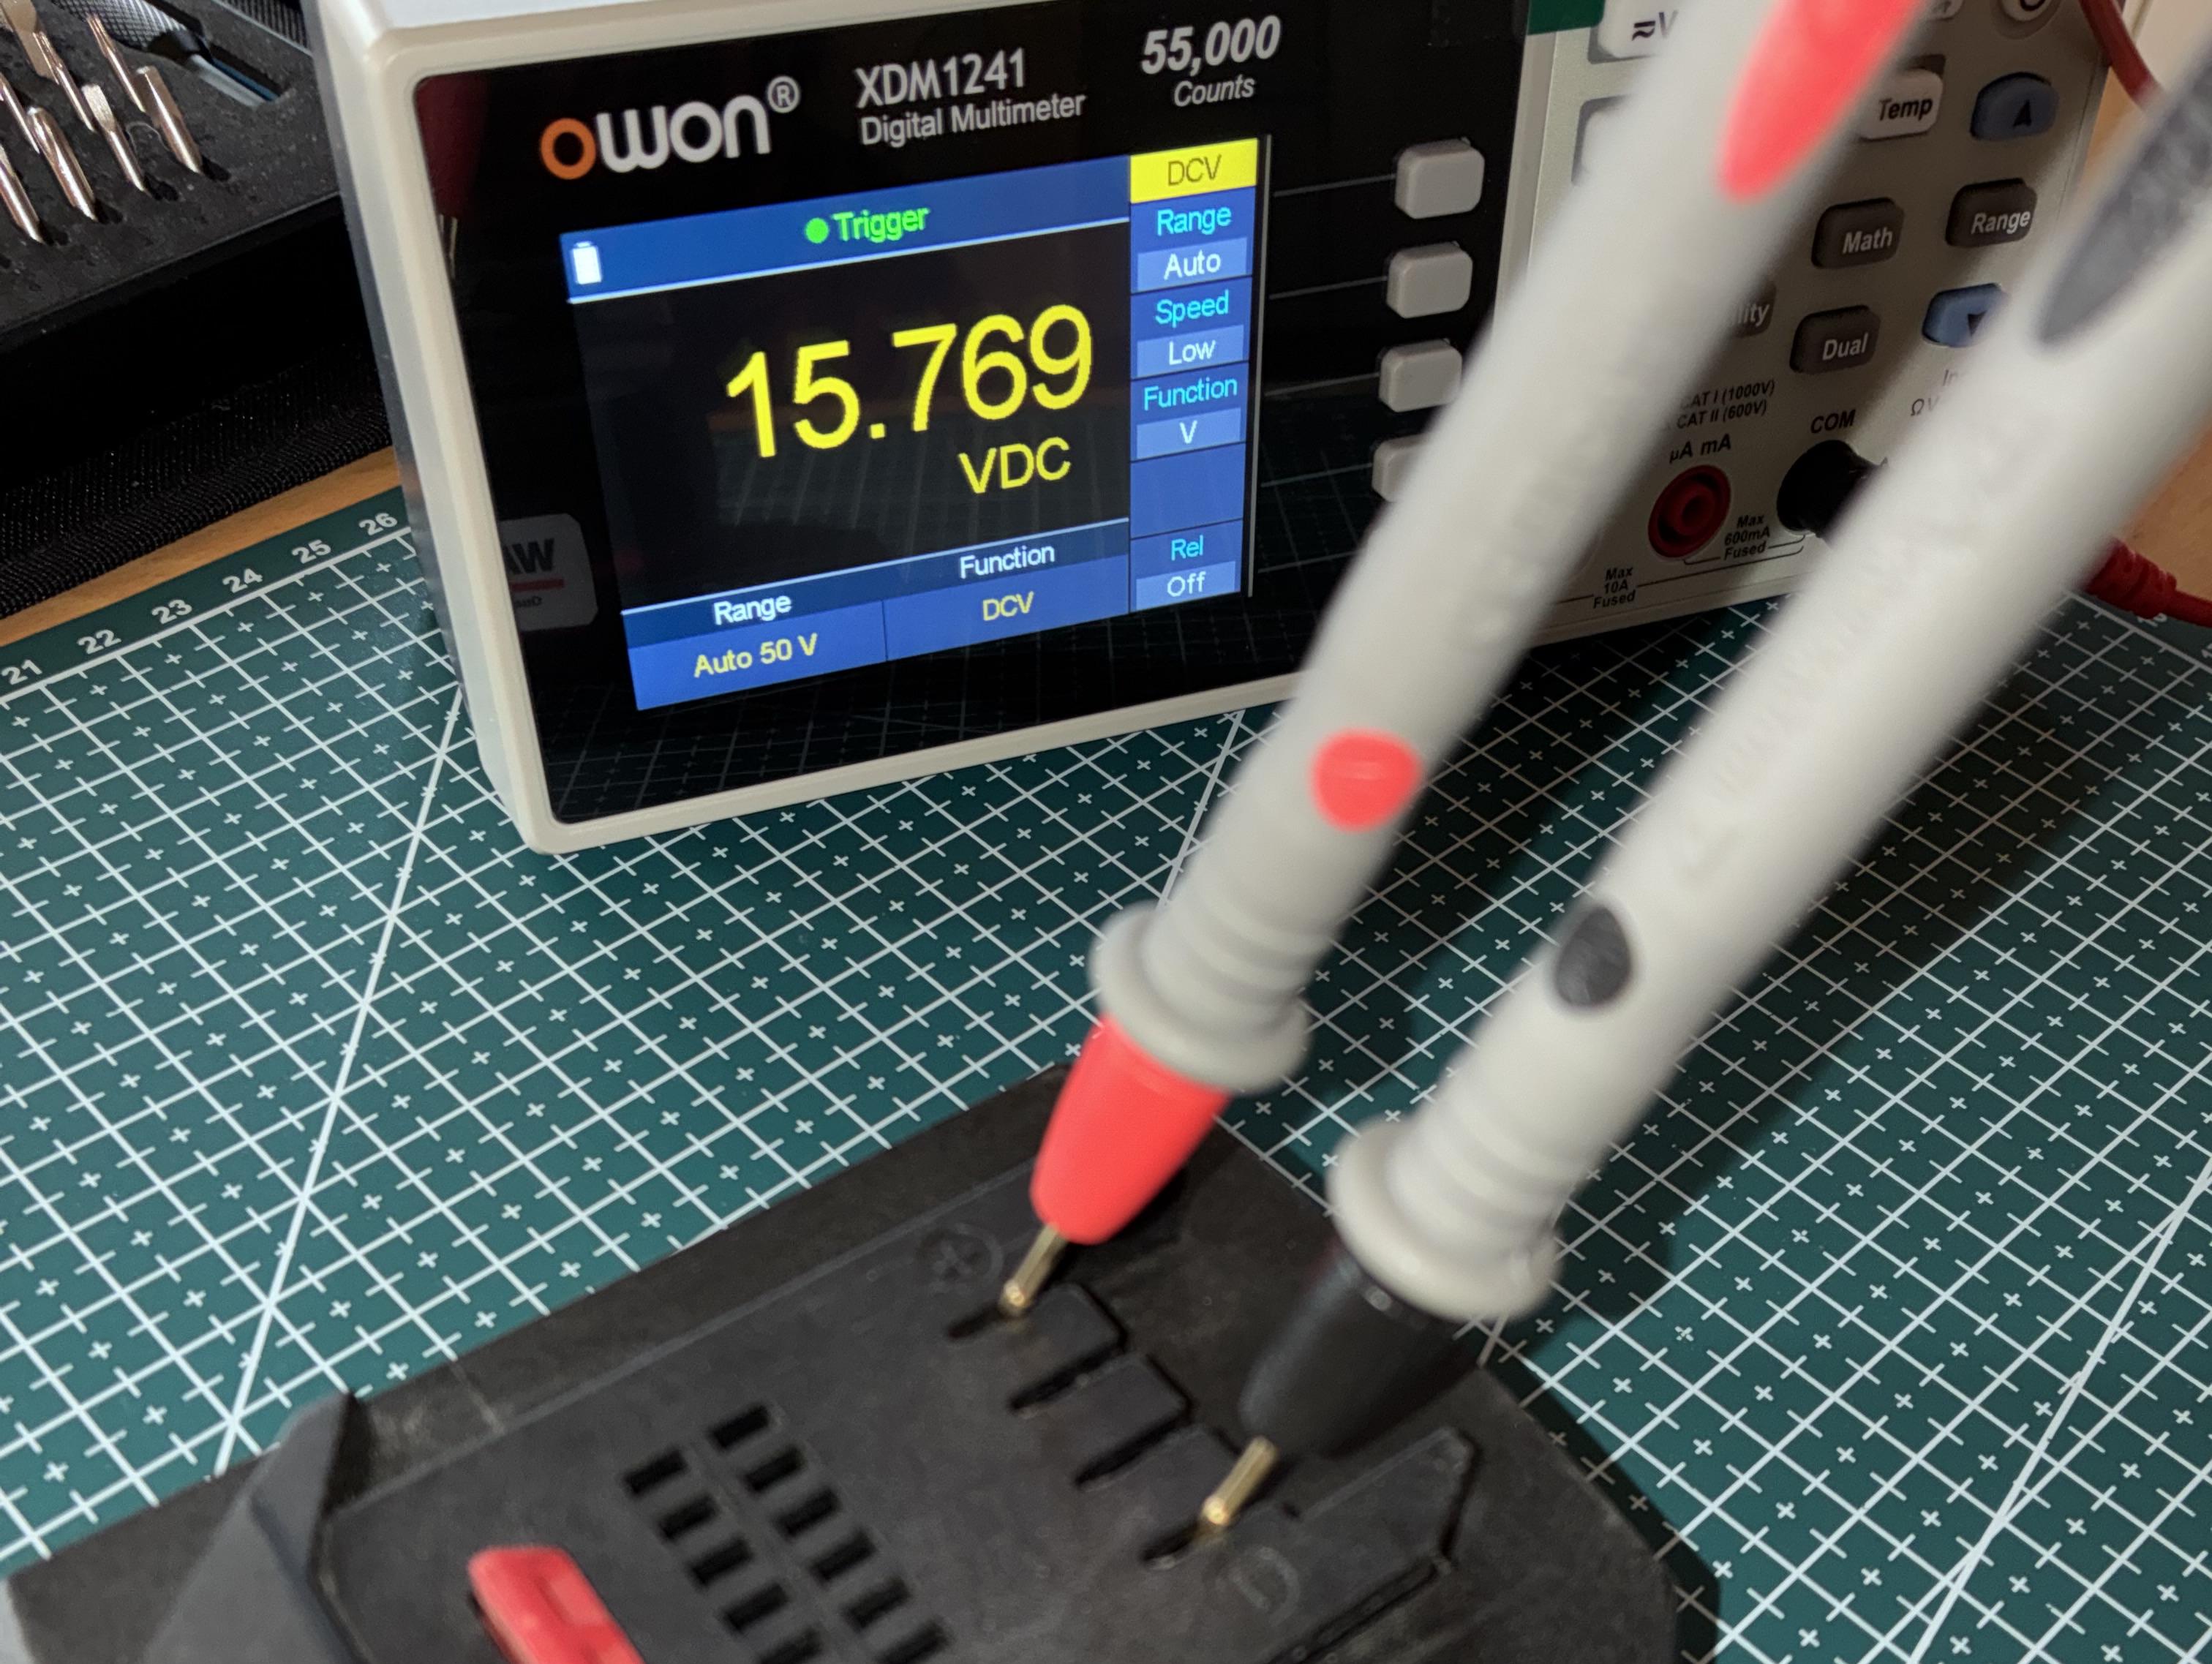
According to the label it should be 20 V (roughly 18–21 V depending on state of charge). The terminals only showed 15.769 V, which is why the charger refused to charge it (charger protection circuit).
Step 2: Opening the case #
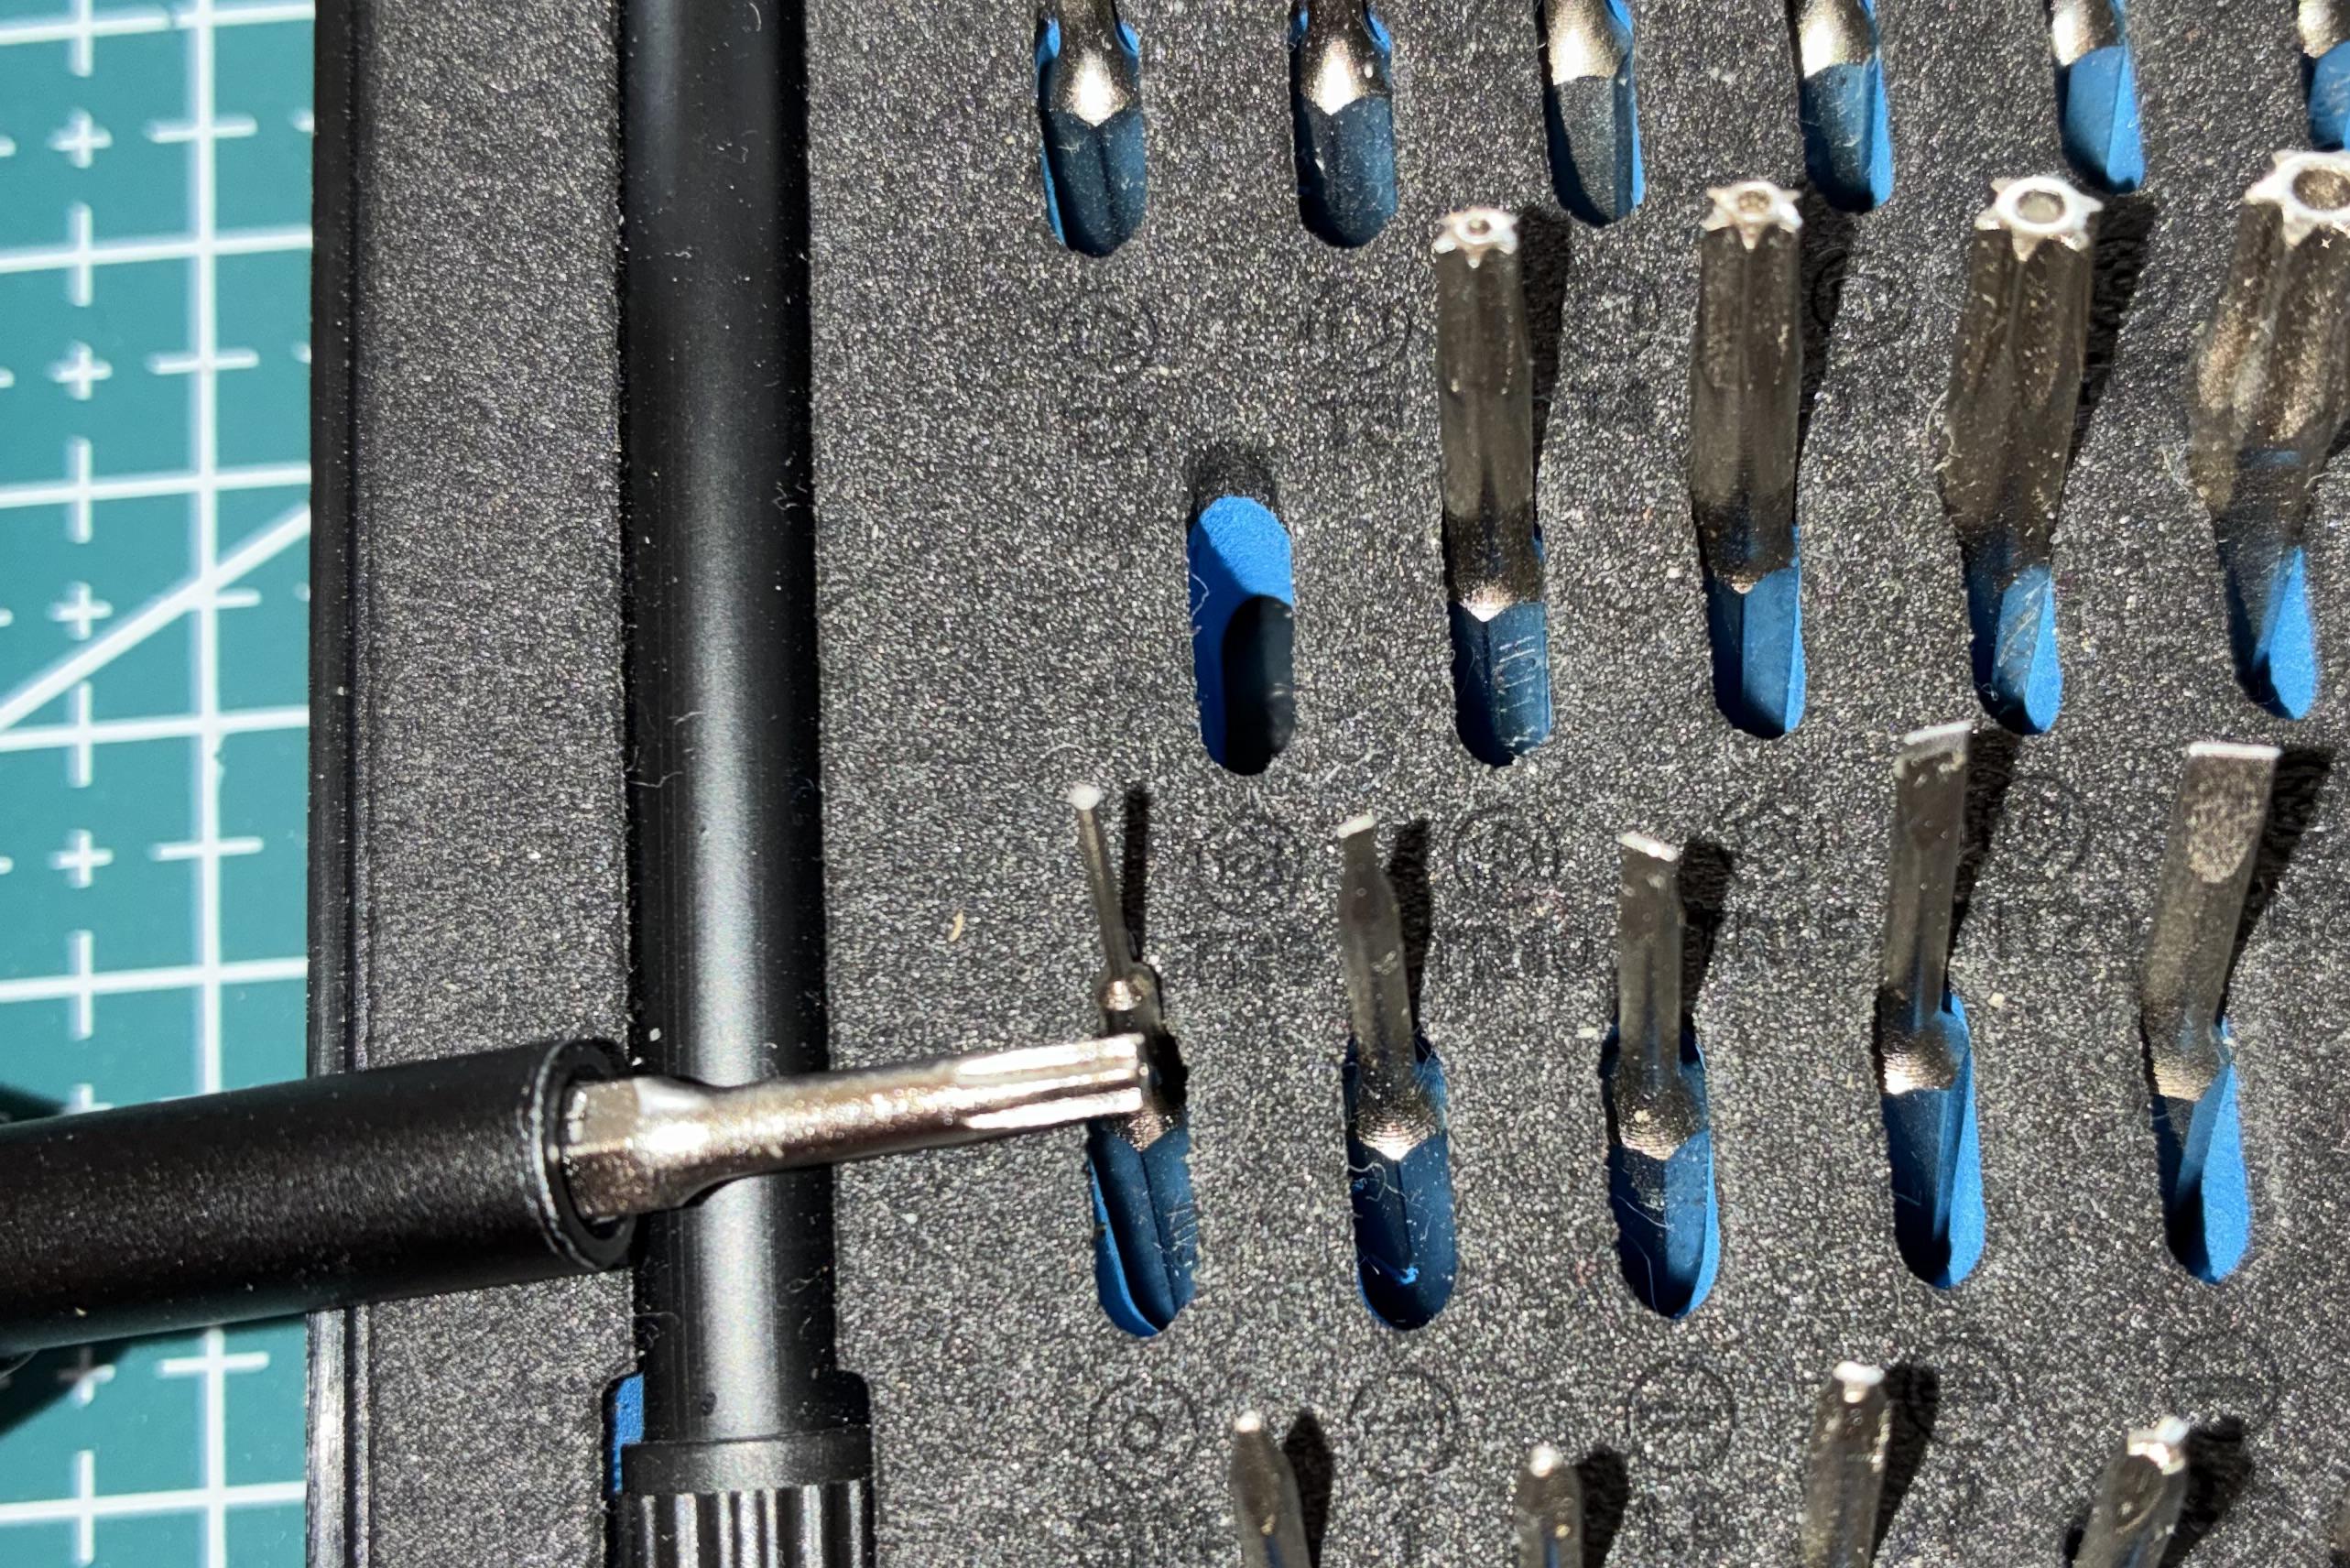
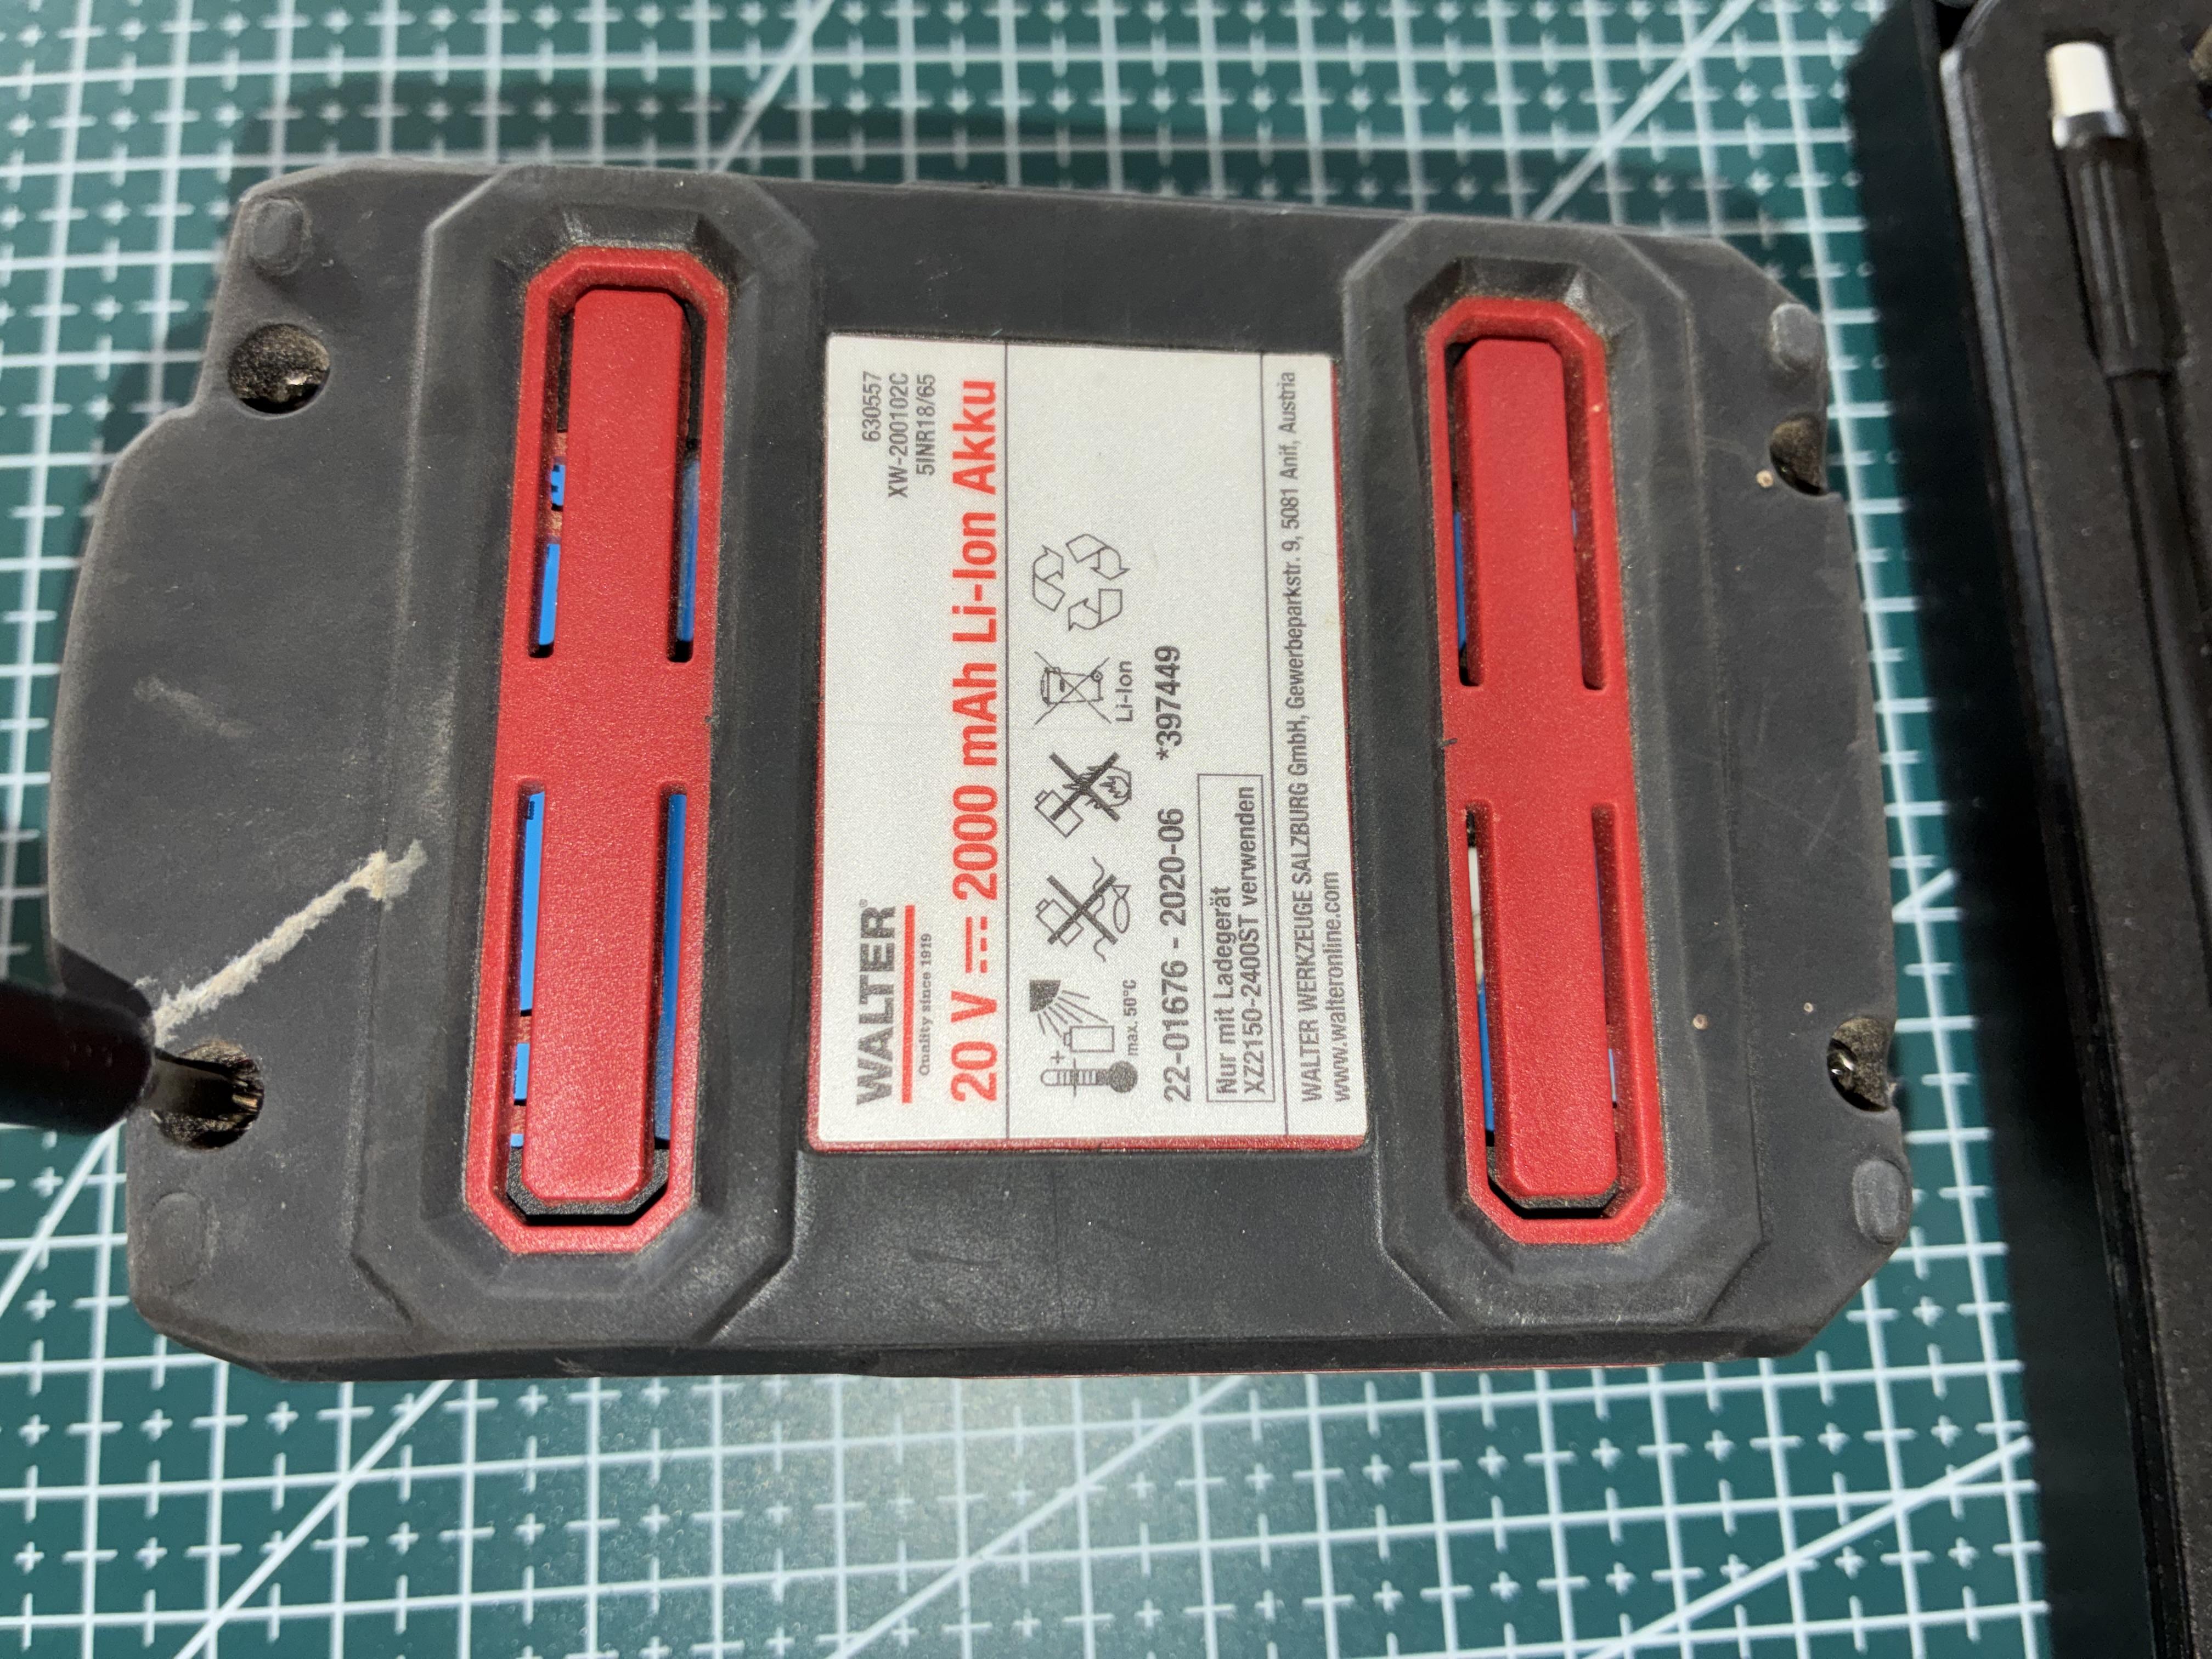
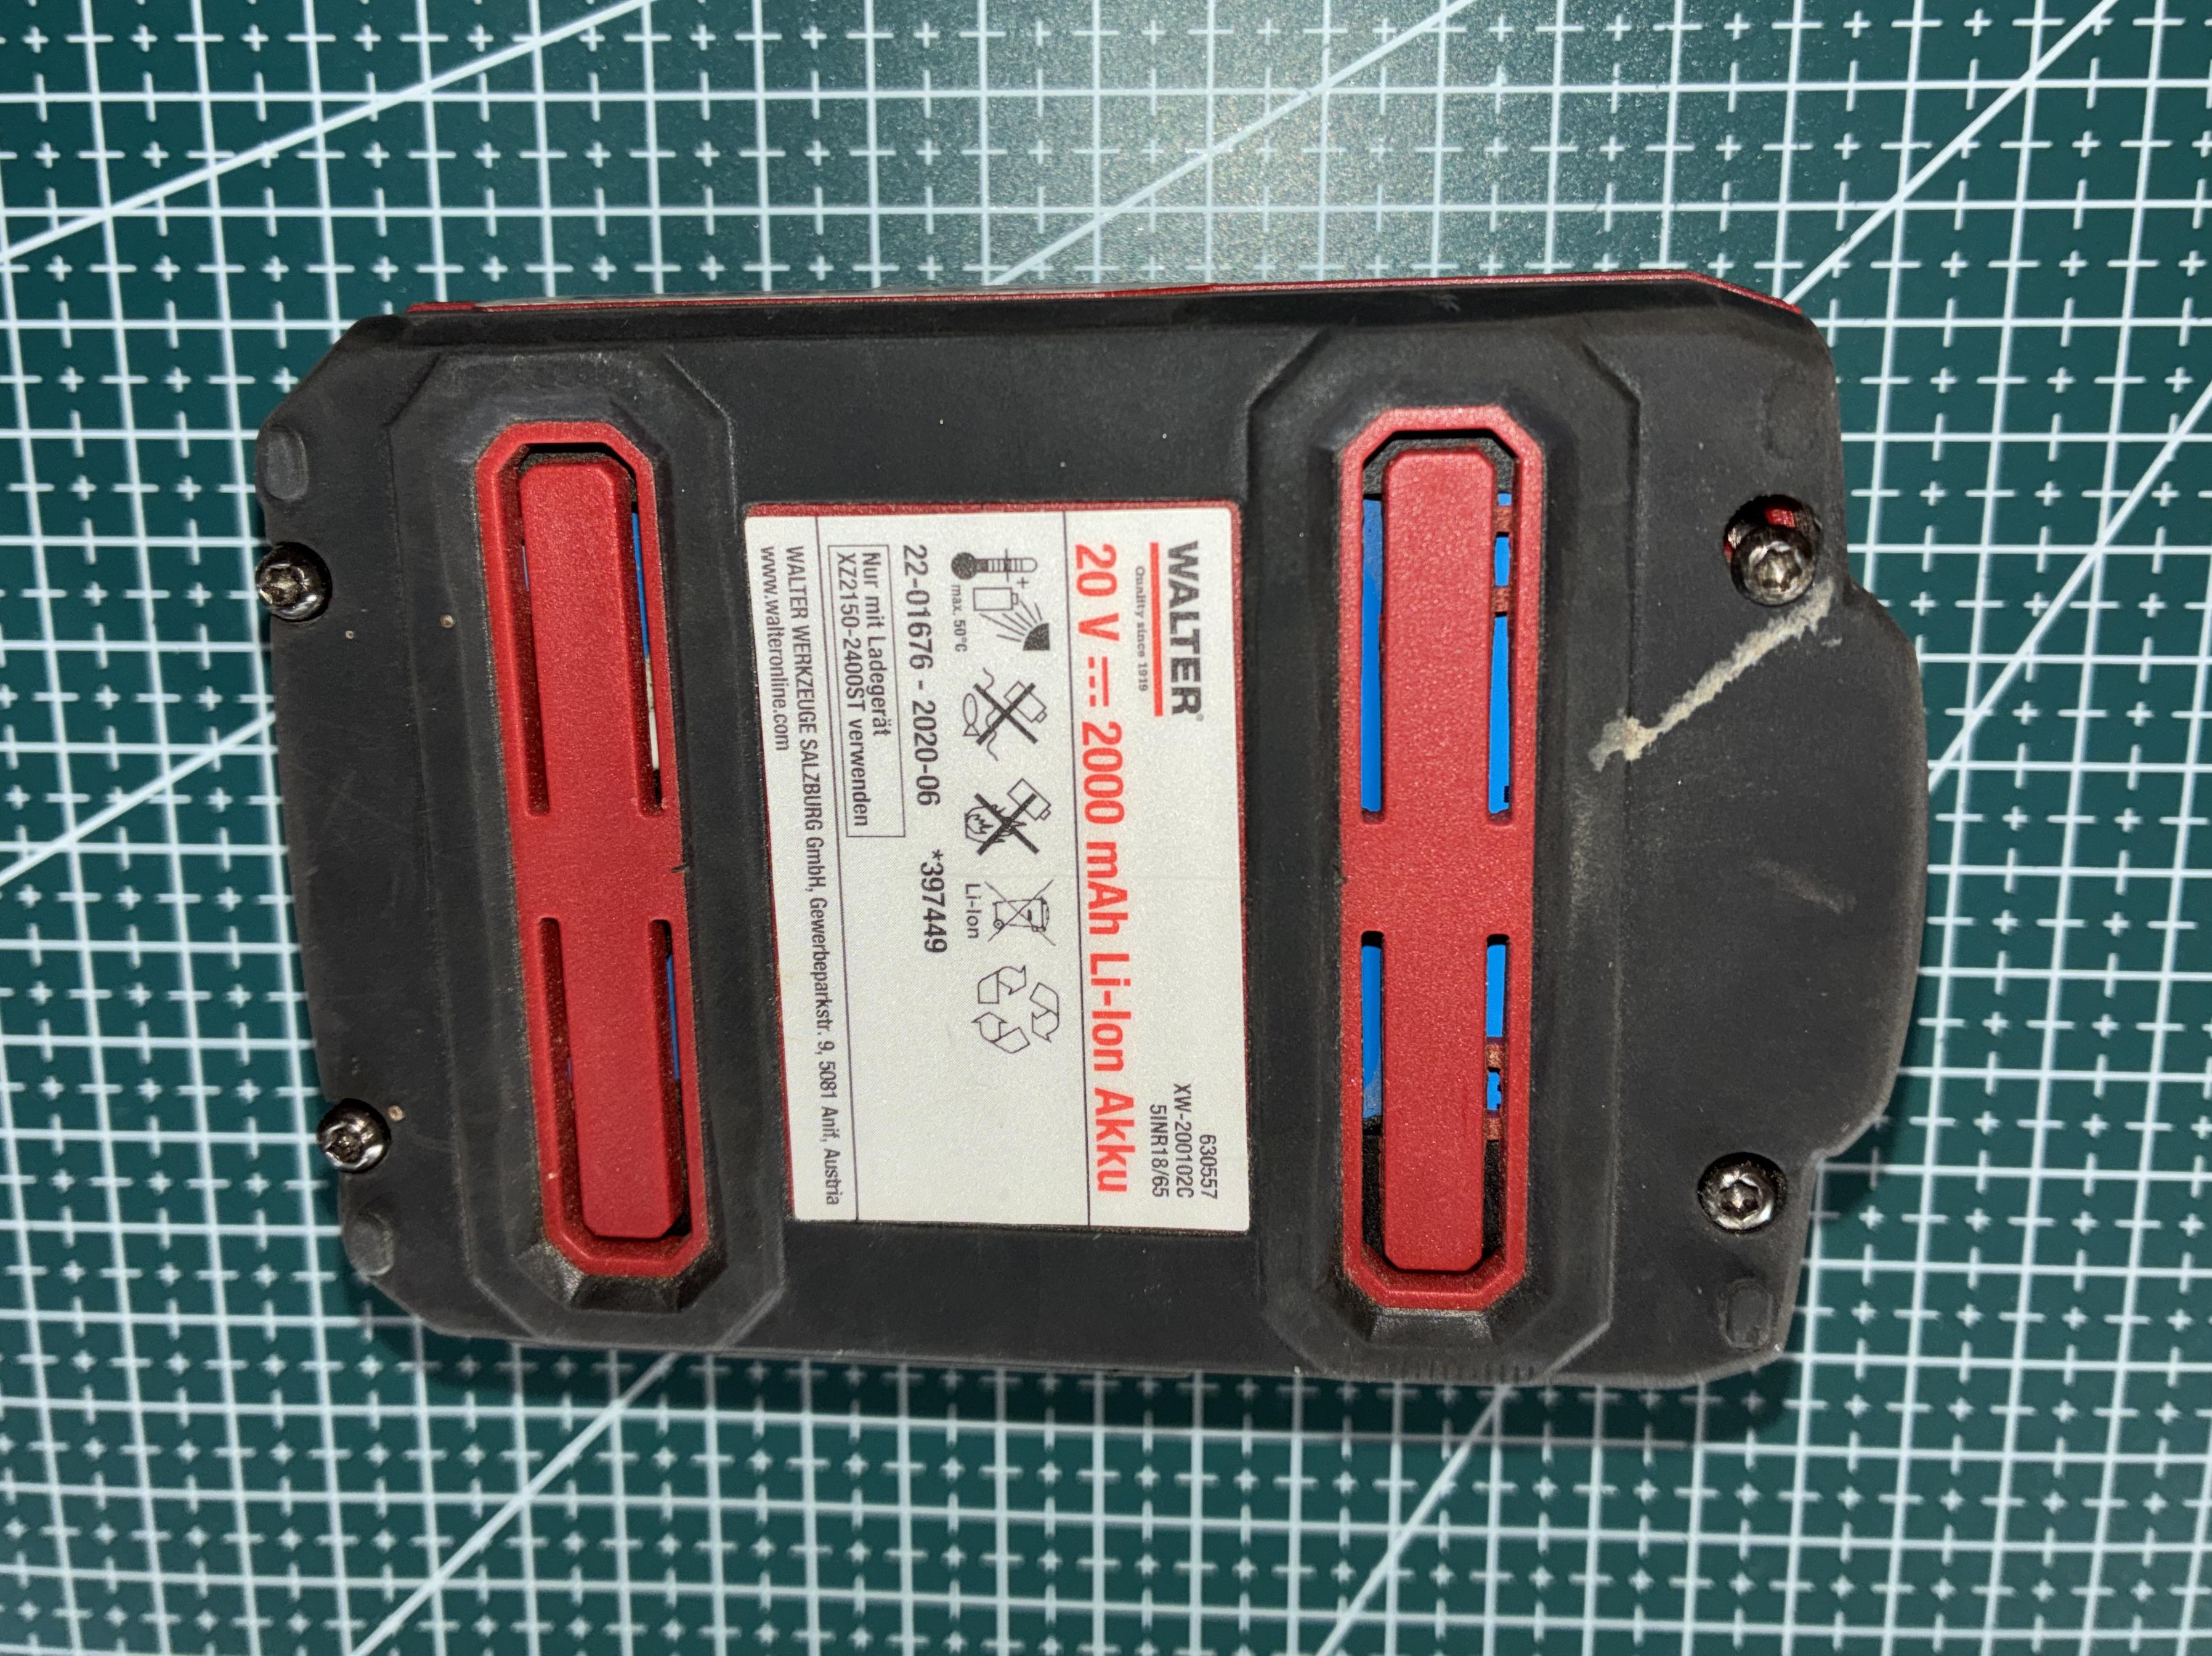
The four Torx screws are easily accessible on the bottom. Important: you need a proper T20 bit – anything else just spins forever.
Step 3: First look inside #
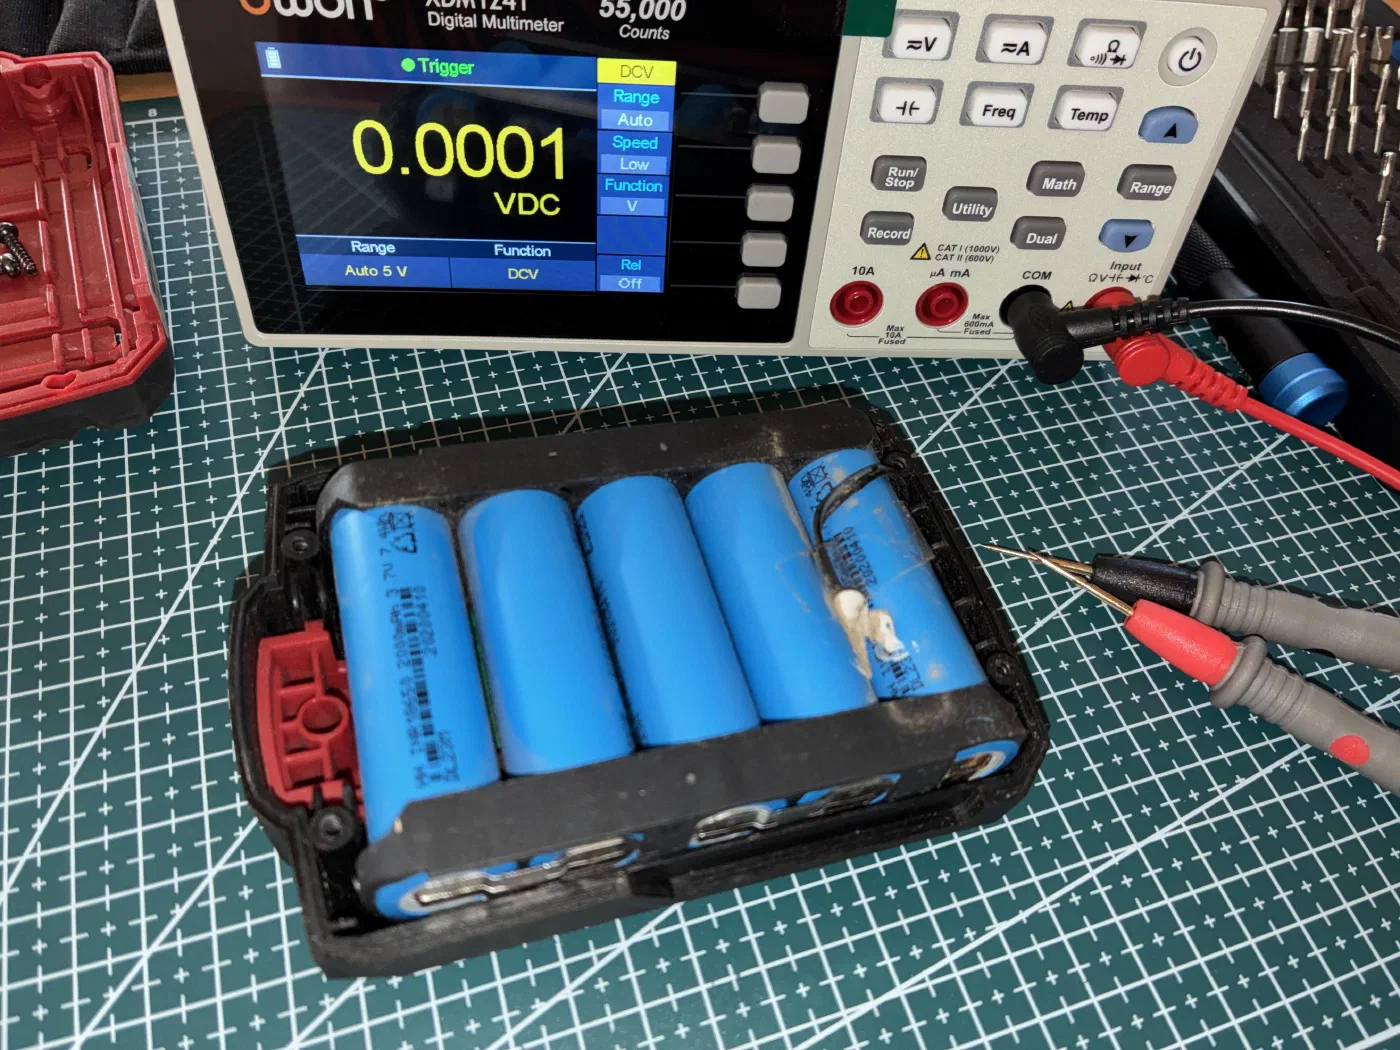
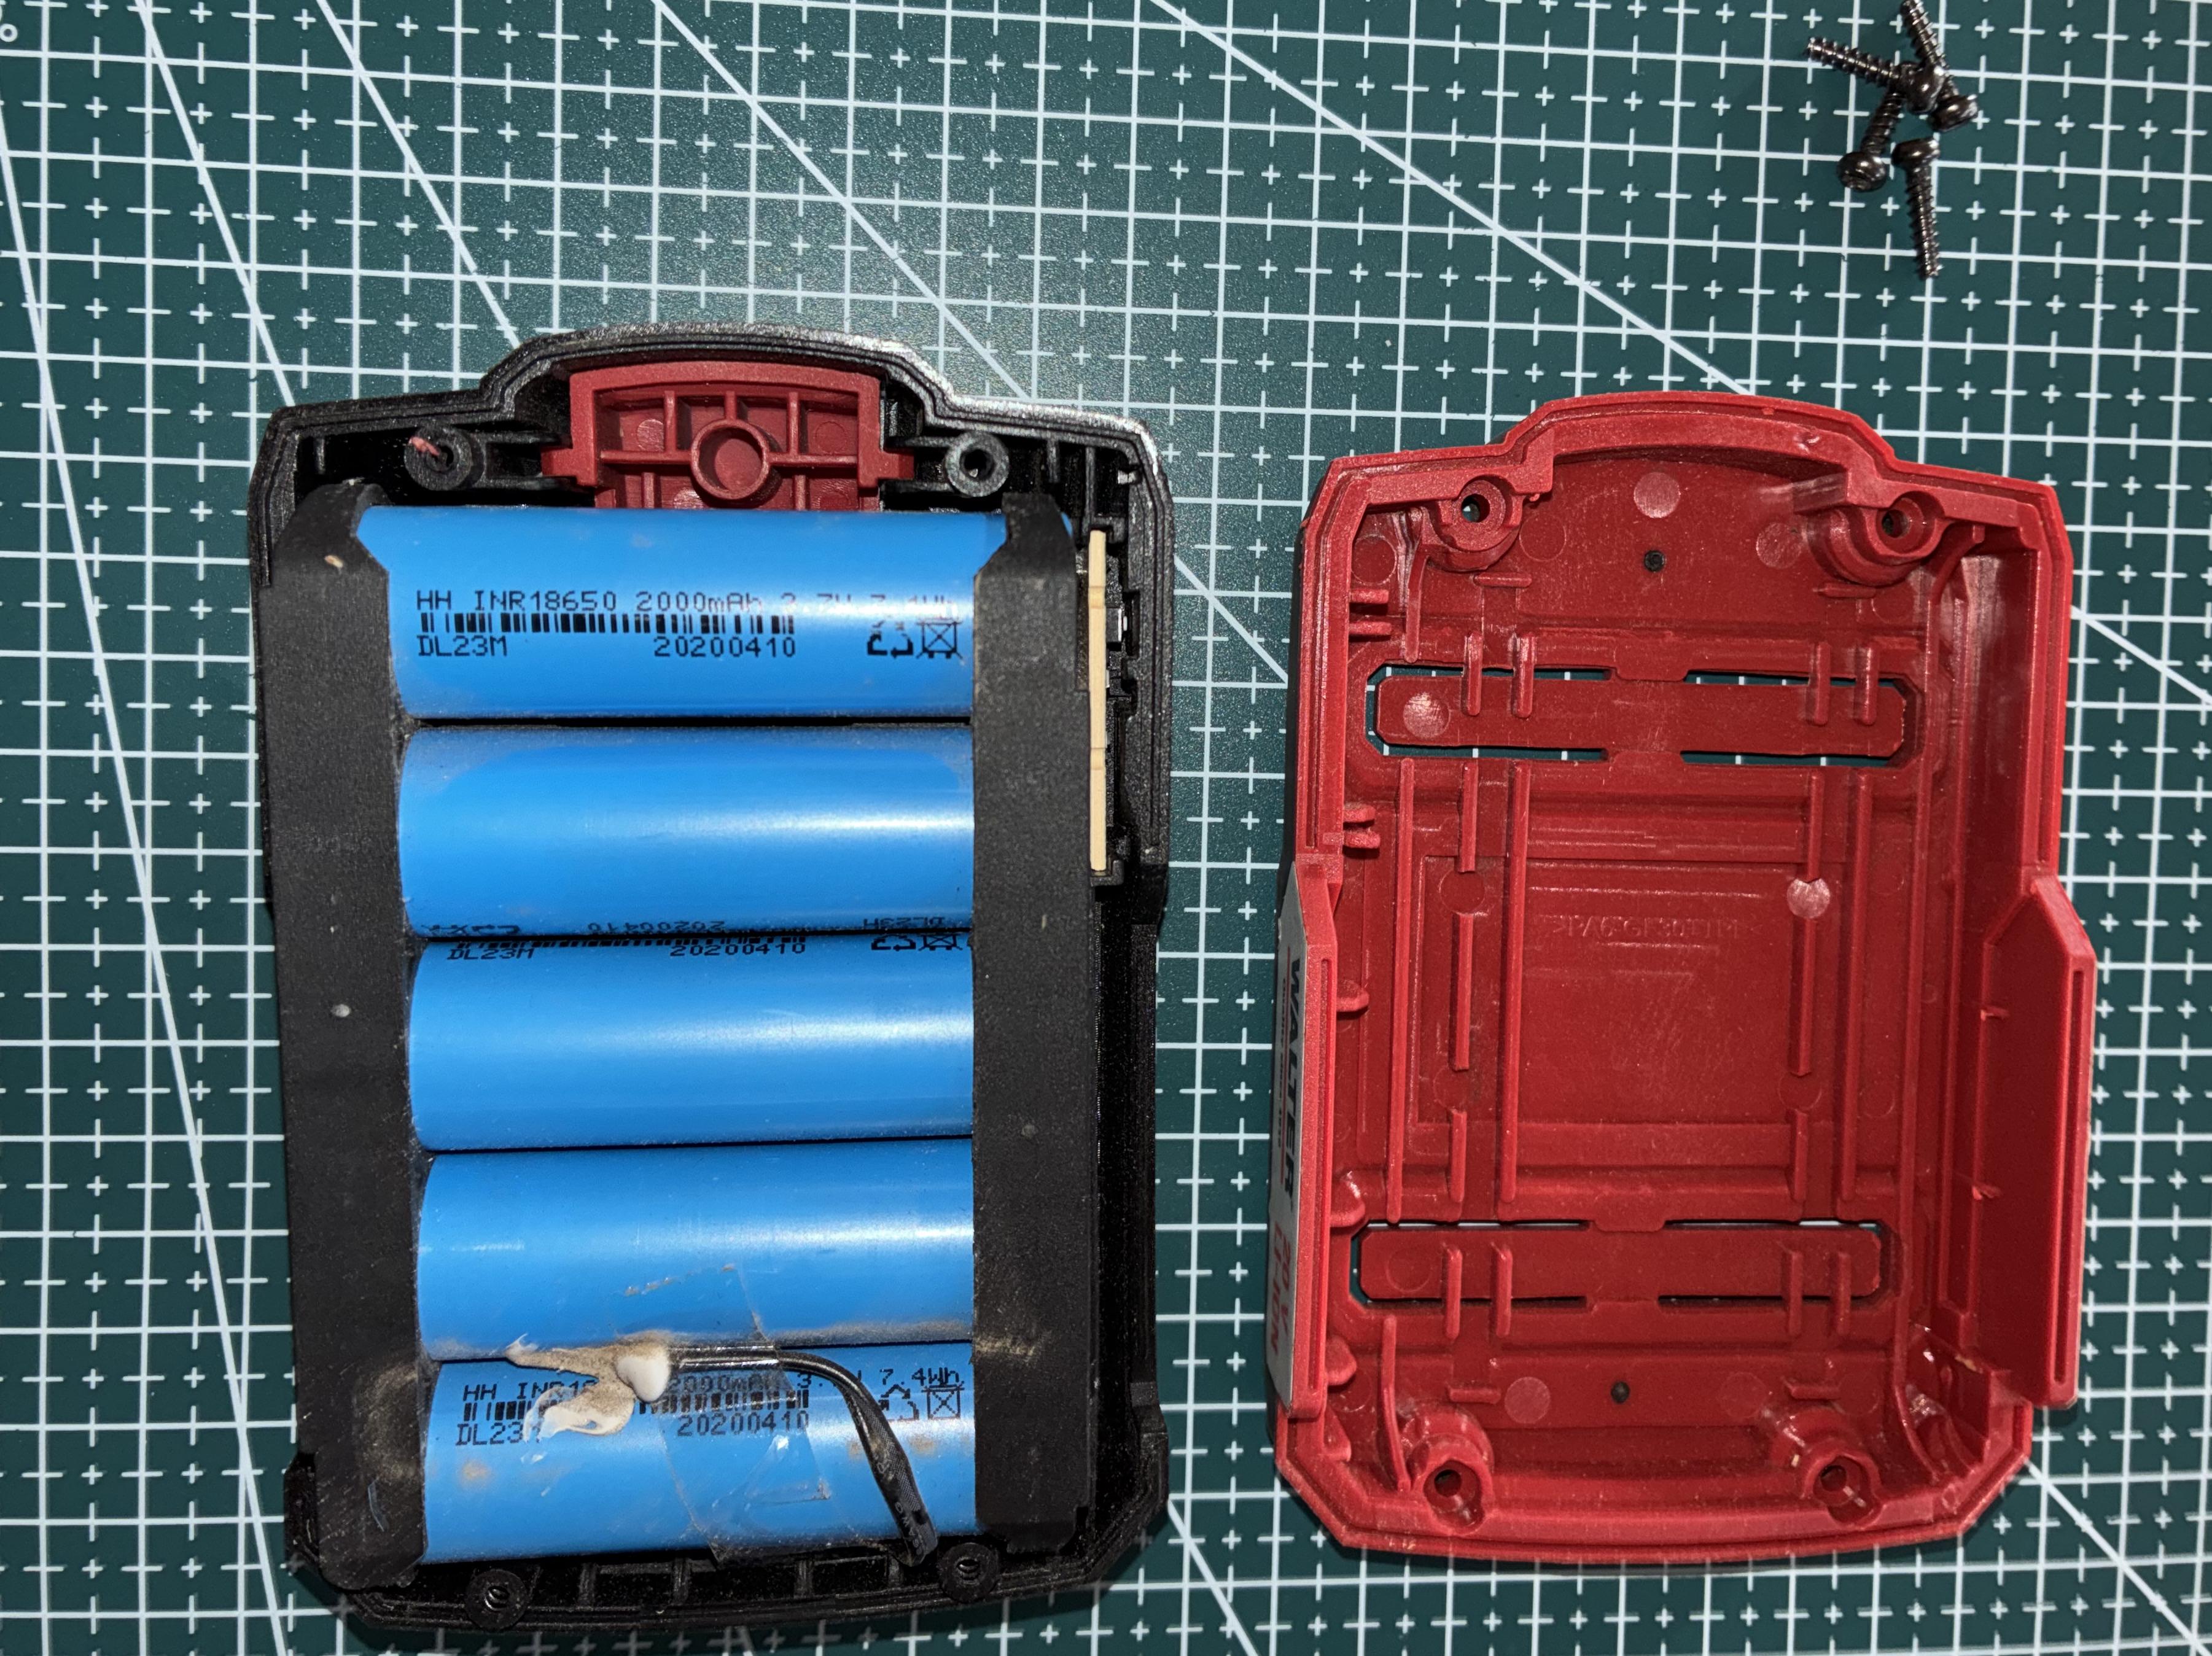
Five 18650 cells in series (5S1P), neatly spot-welded with nickel strips and glued in place.
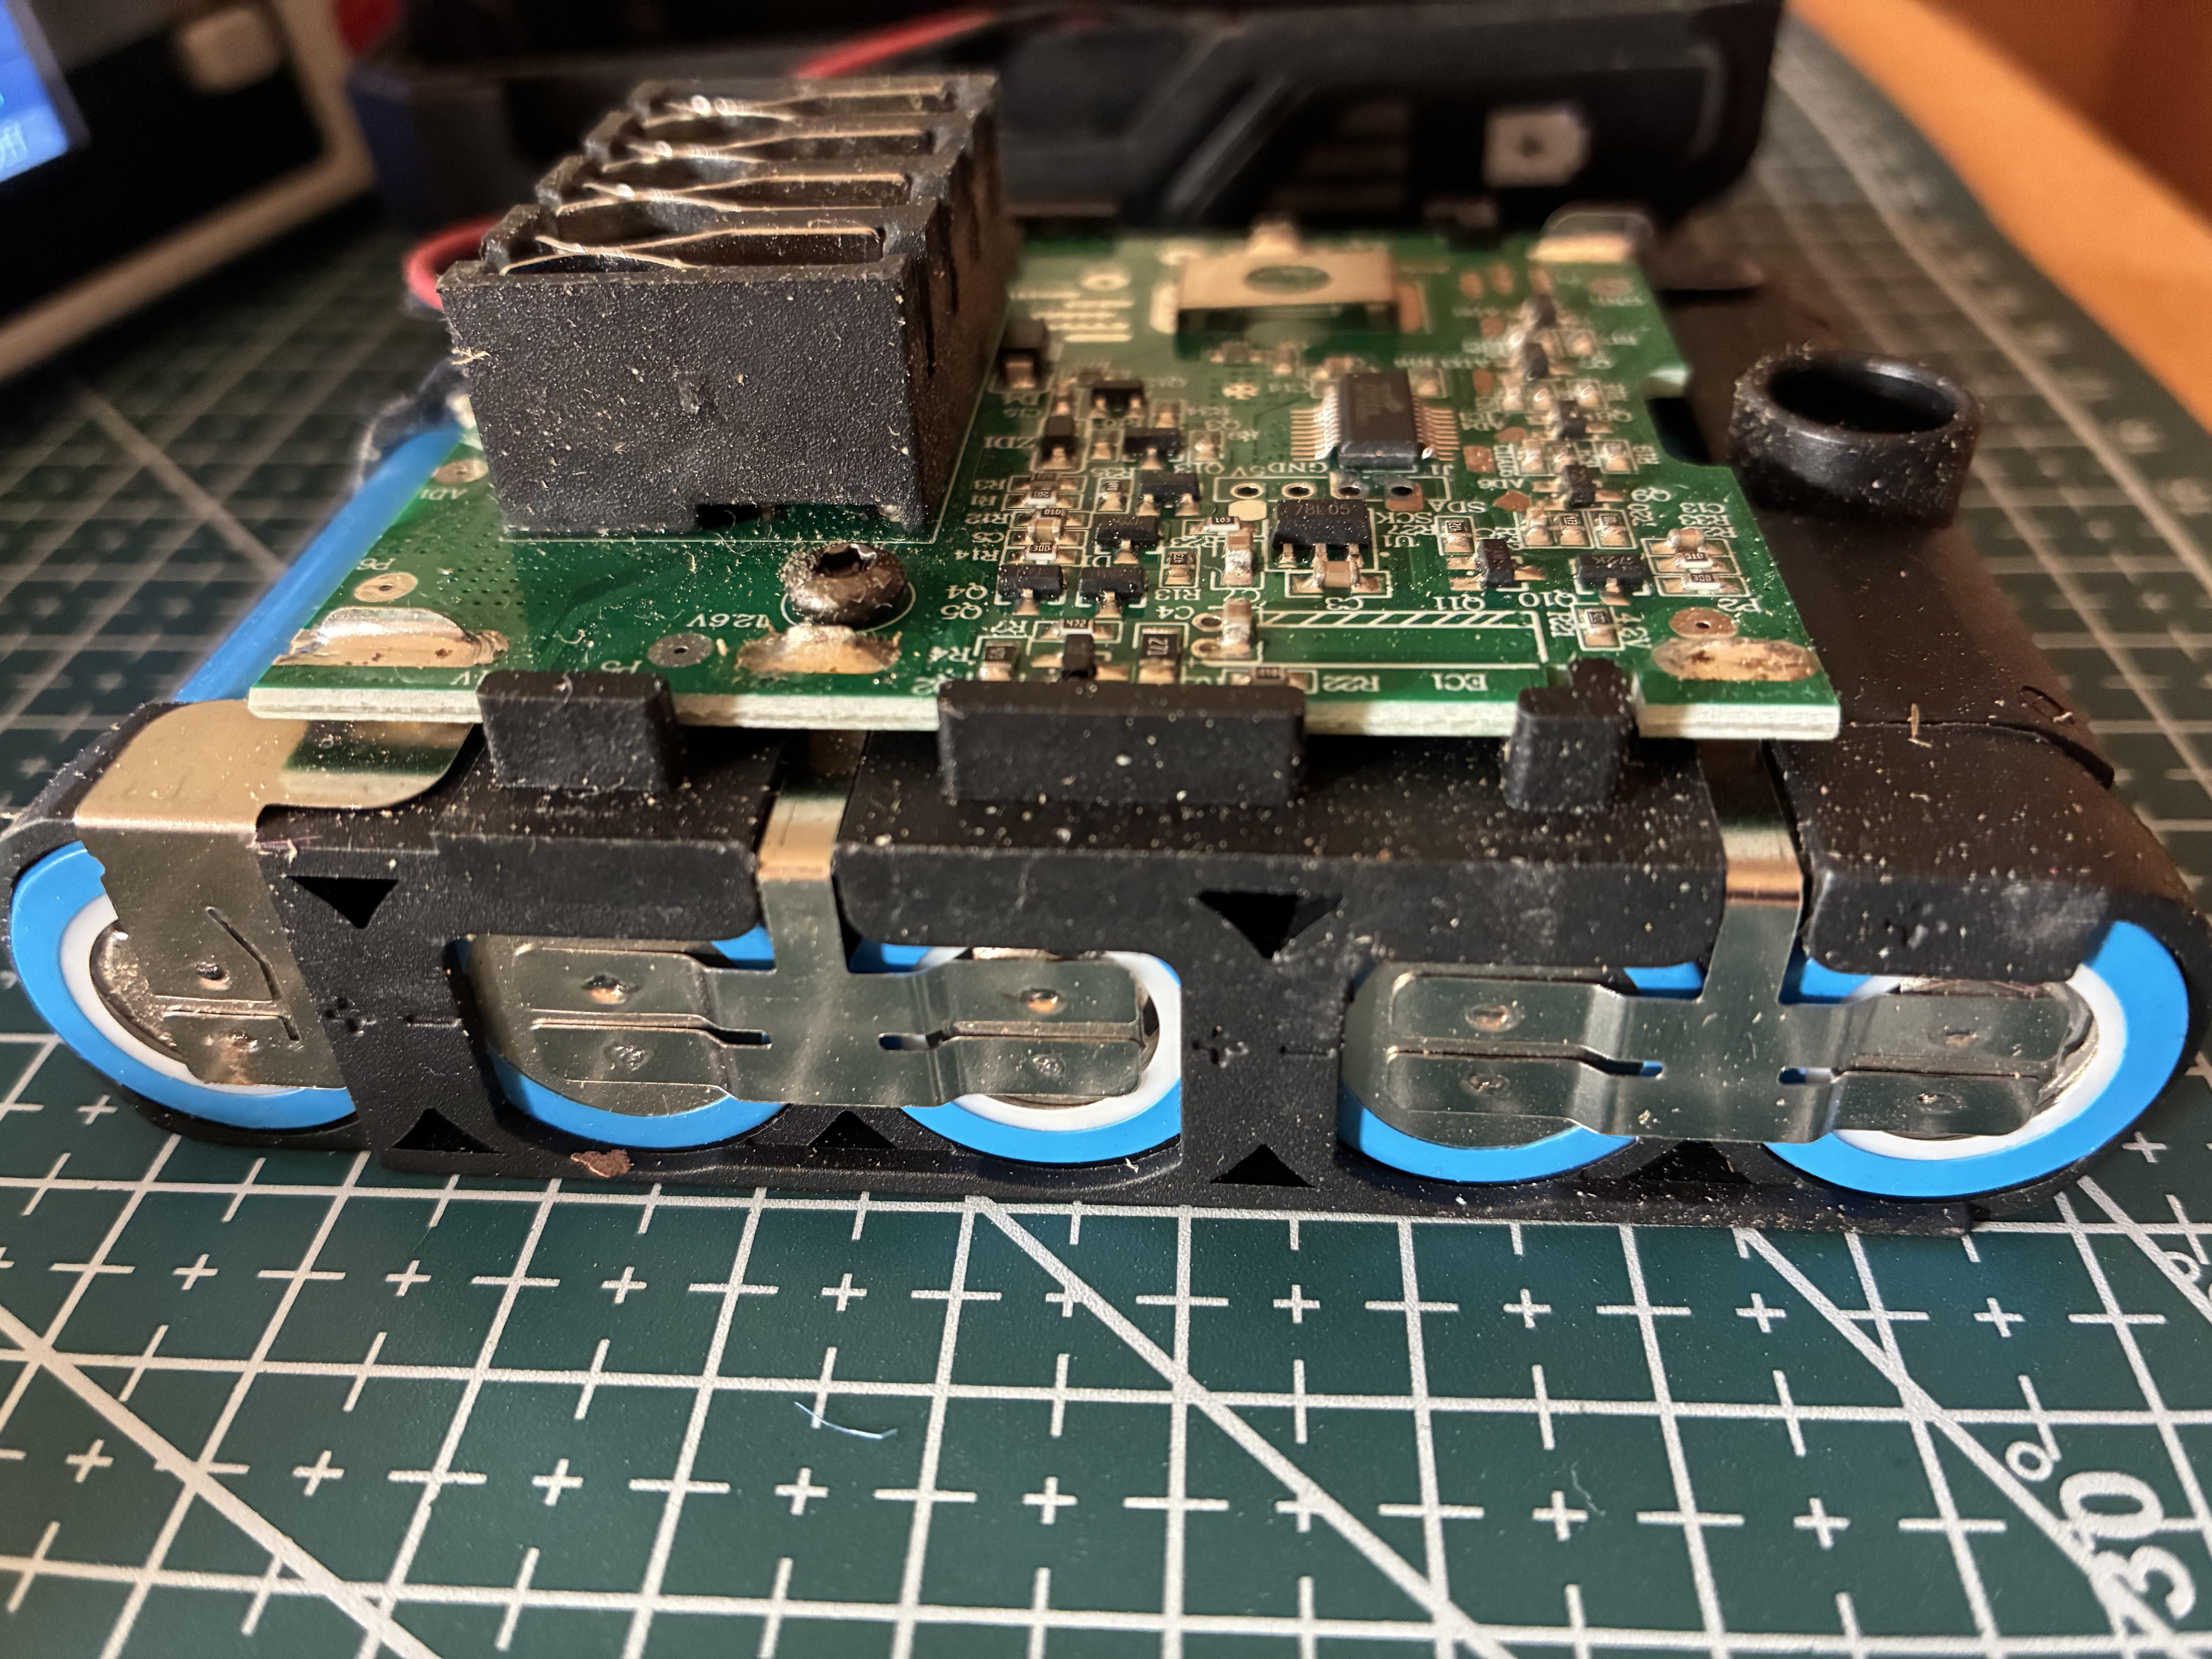
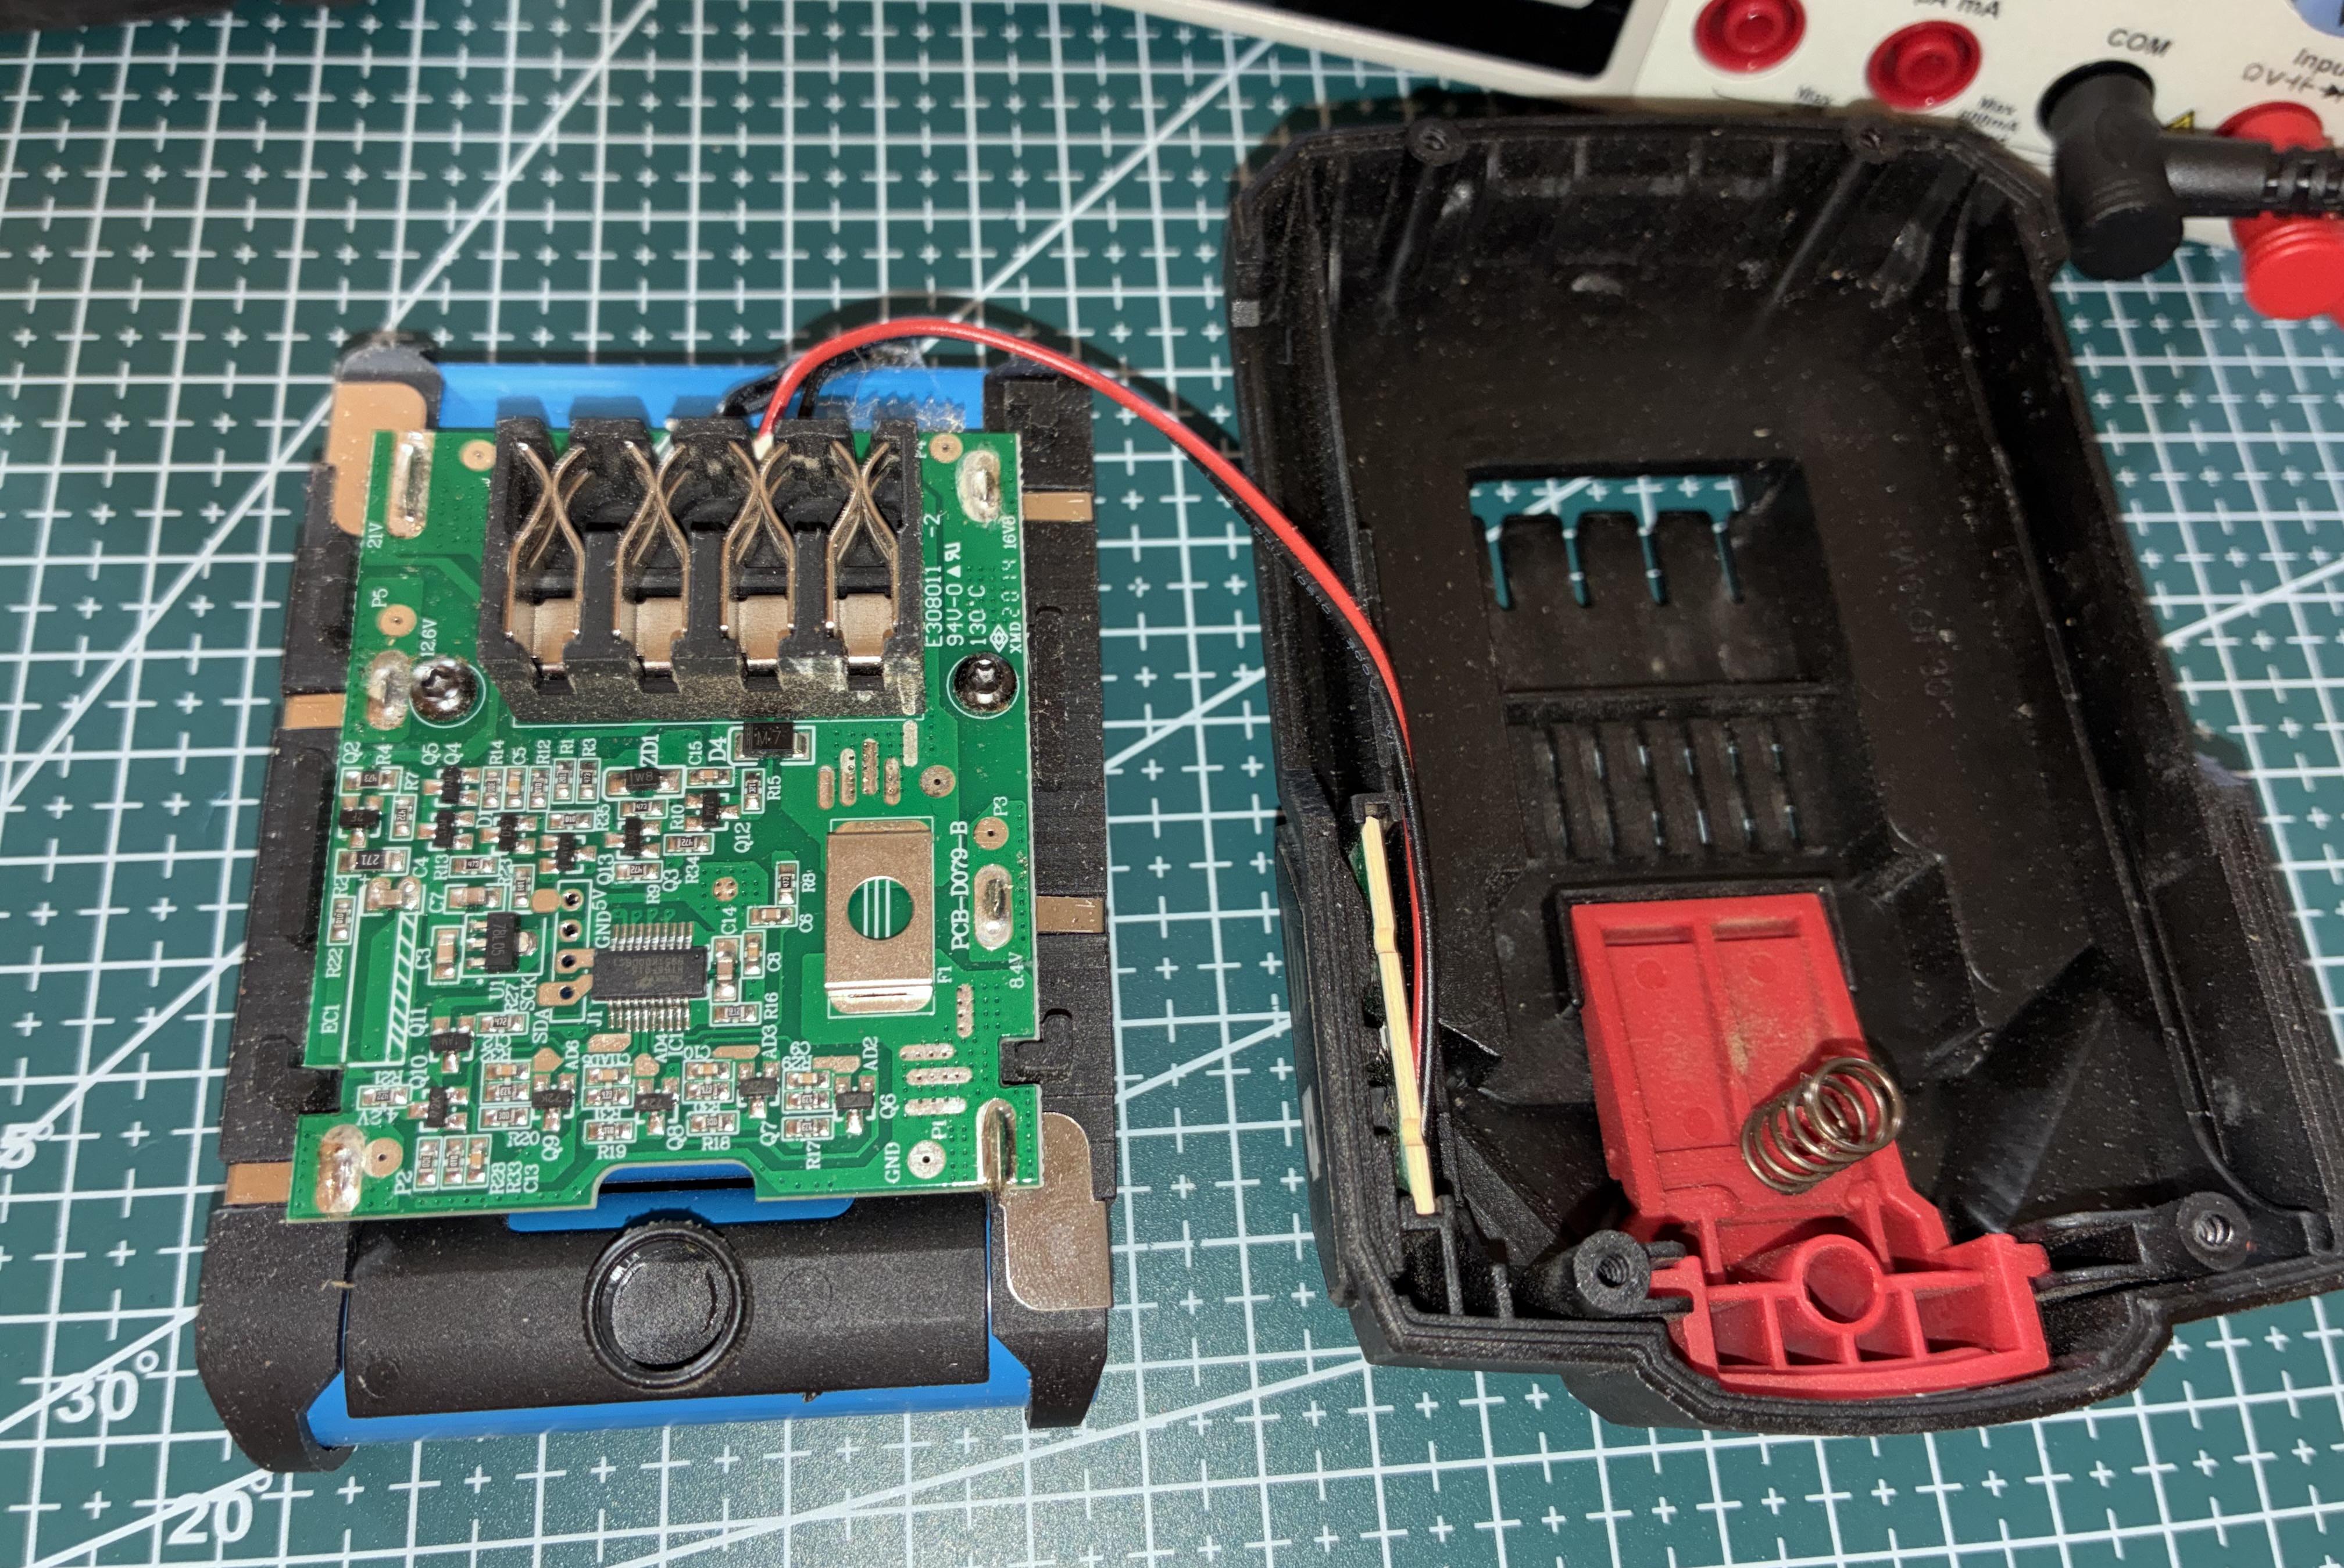
On the back of the cells sits the BMS board. The silkscreen says “21 V” – perfect match for 5 × 4.2 V = 21 V maximum.
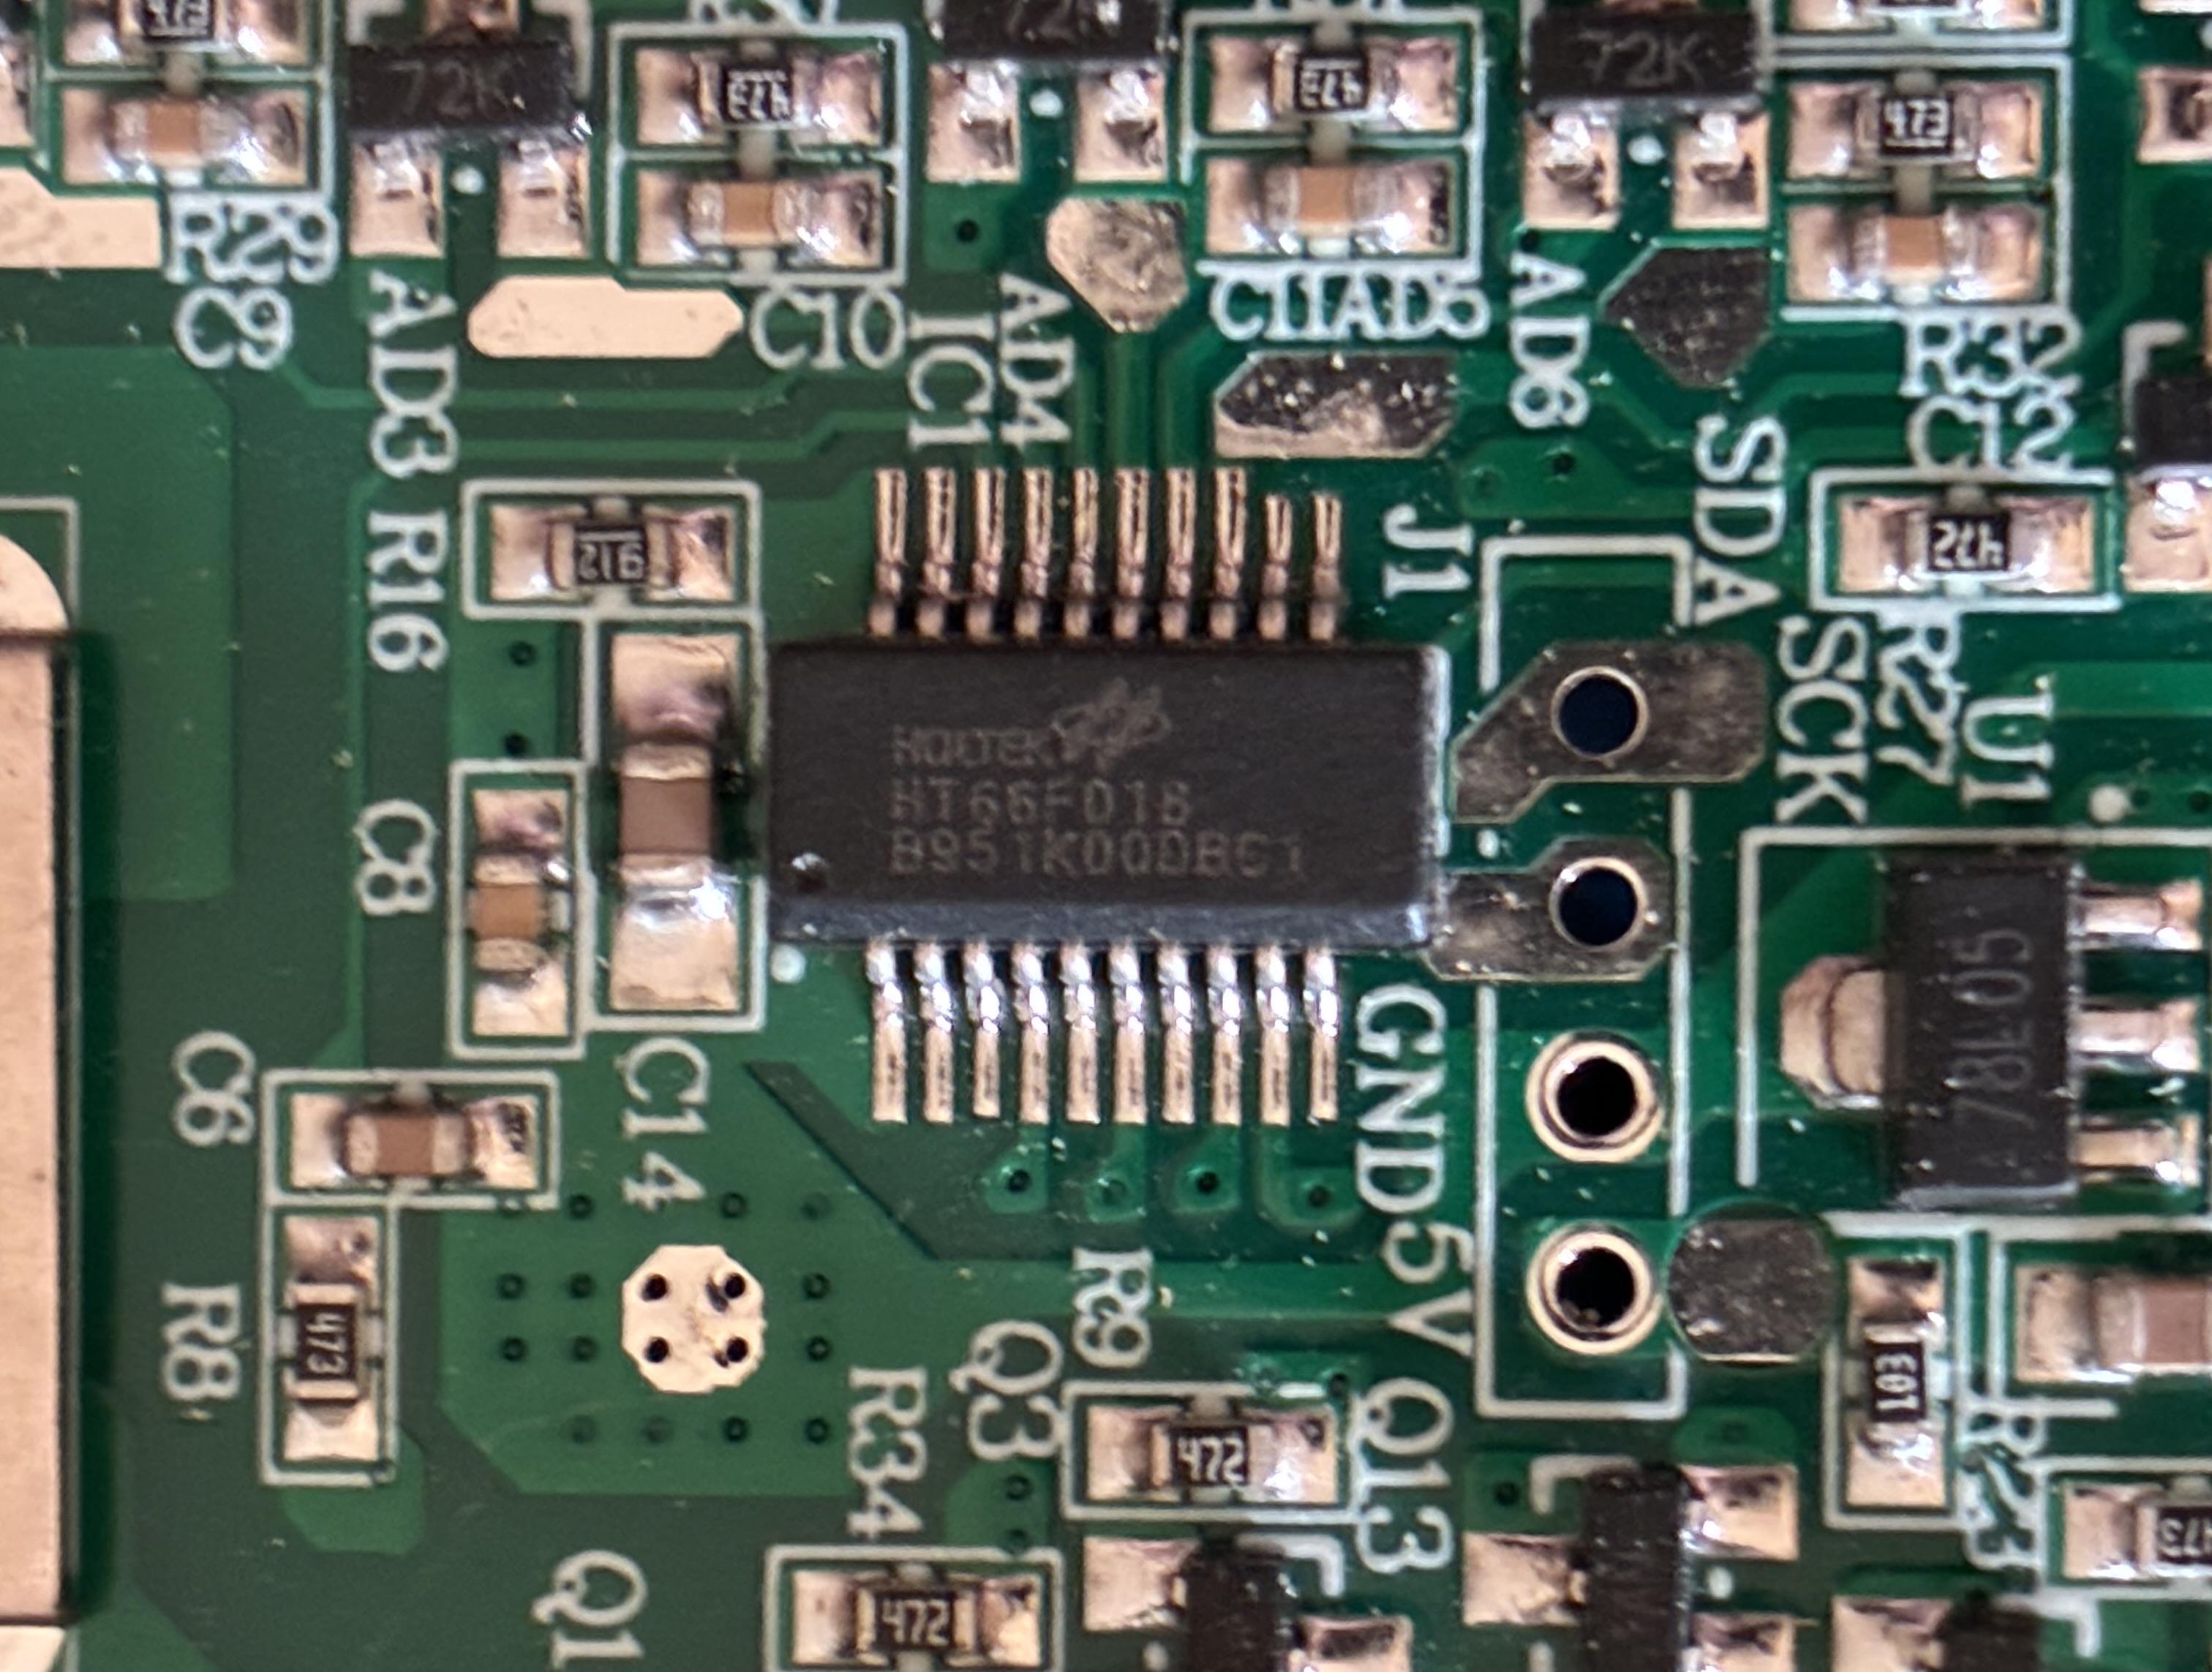
The big black IC is a Holtek HT66F0185 – an extremely cheap 8-bit flash controller used in countless 5S BMS boards. It handles over-charge, over-discharge, short-circuit protection and simple passive balancing.
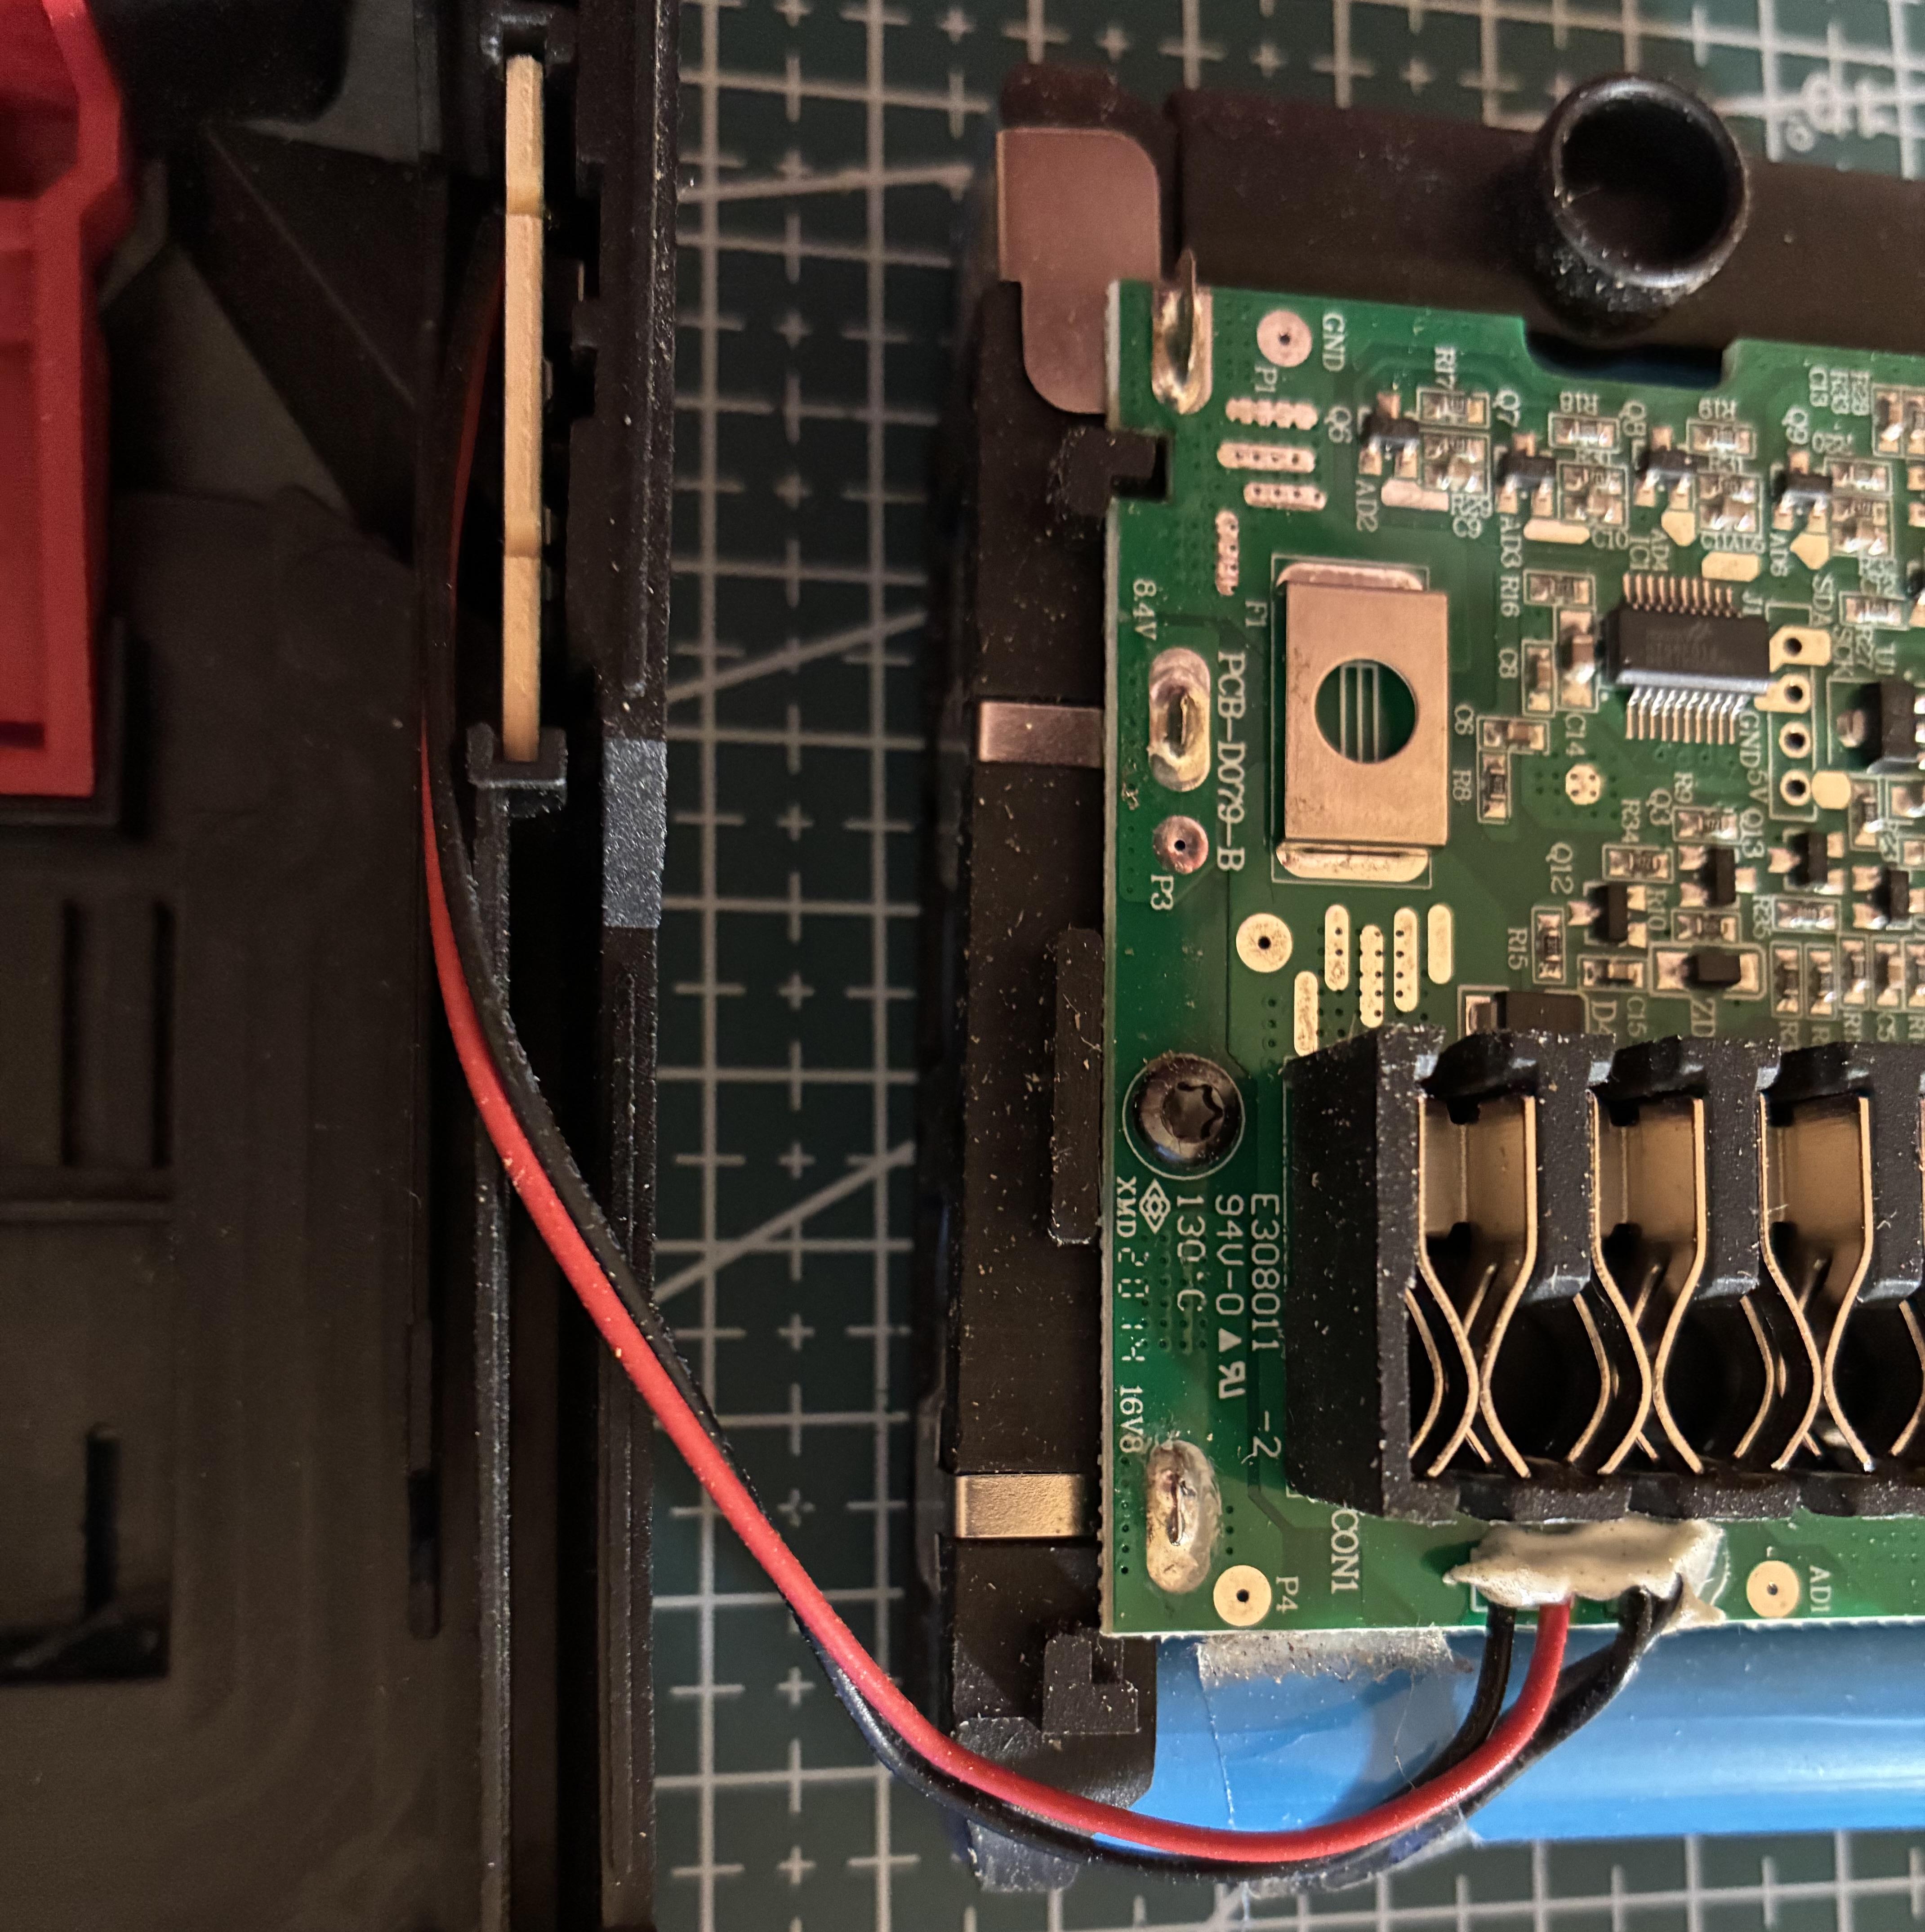
Next to it is a small daughterboard with three LEDs and a button for the capacity indicator.
Step 4: Individual cell measurements #
Before testing every cell thoroughly, I first checked the voltage on the main power rail of the BMS. It should read 18–21 V.
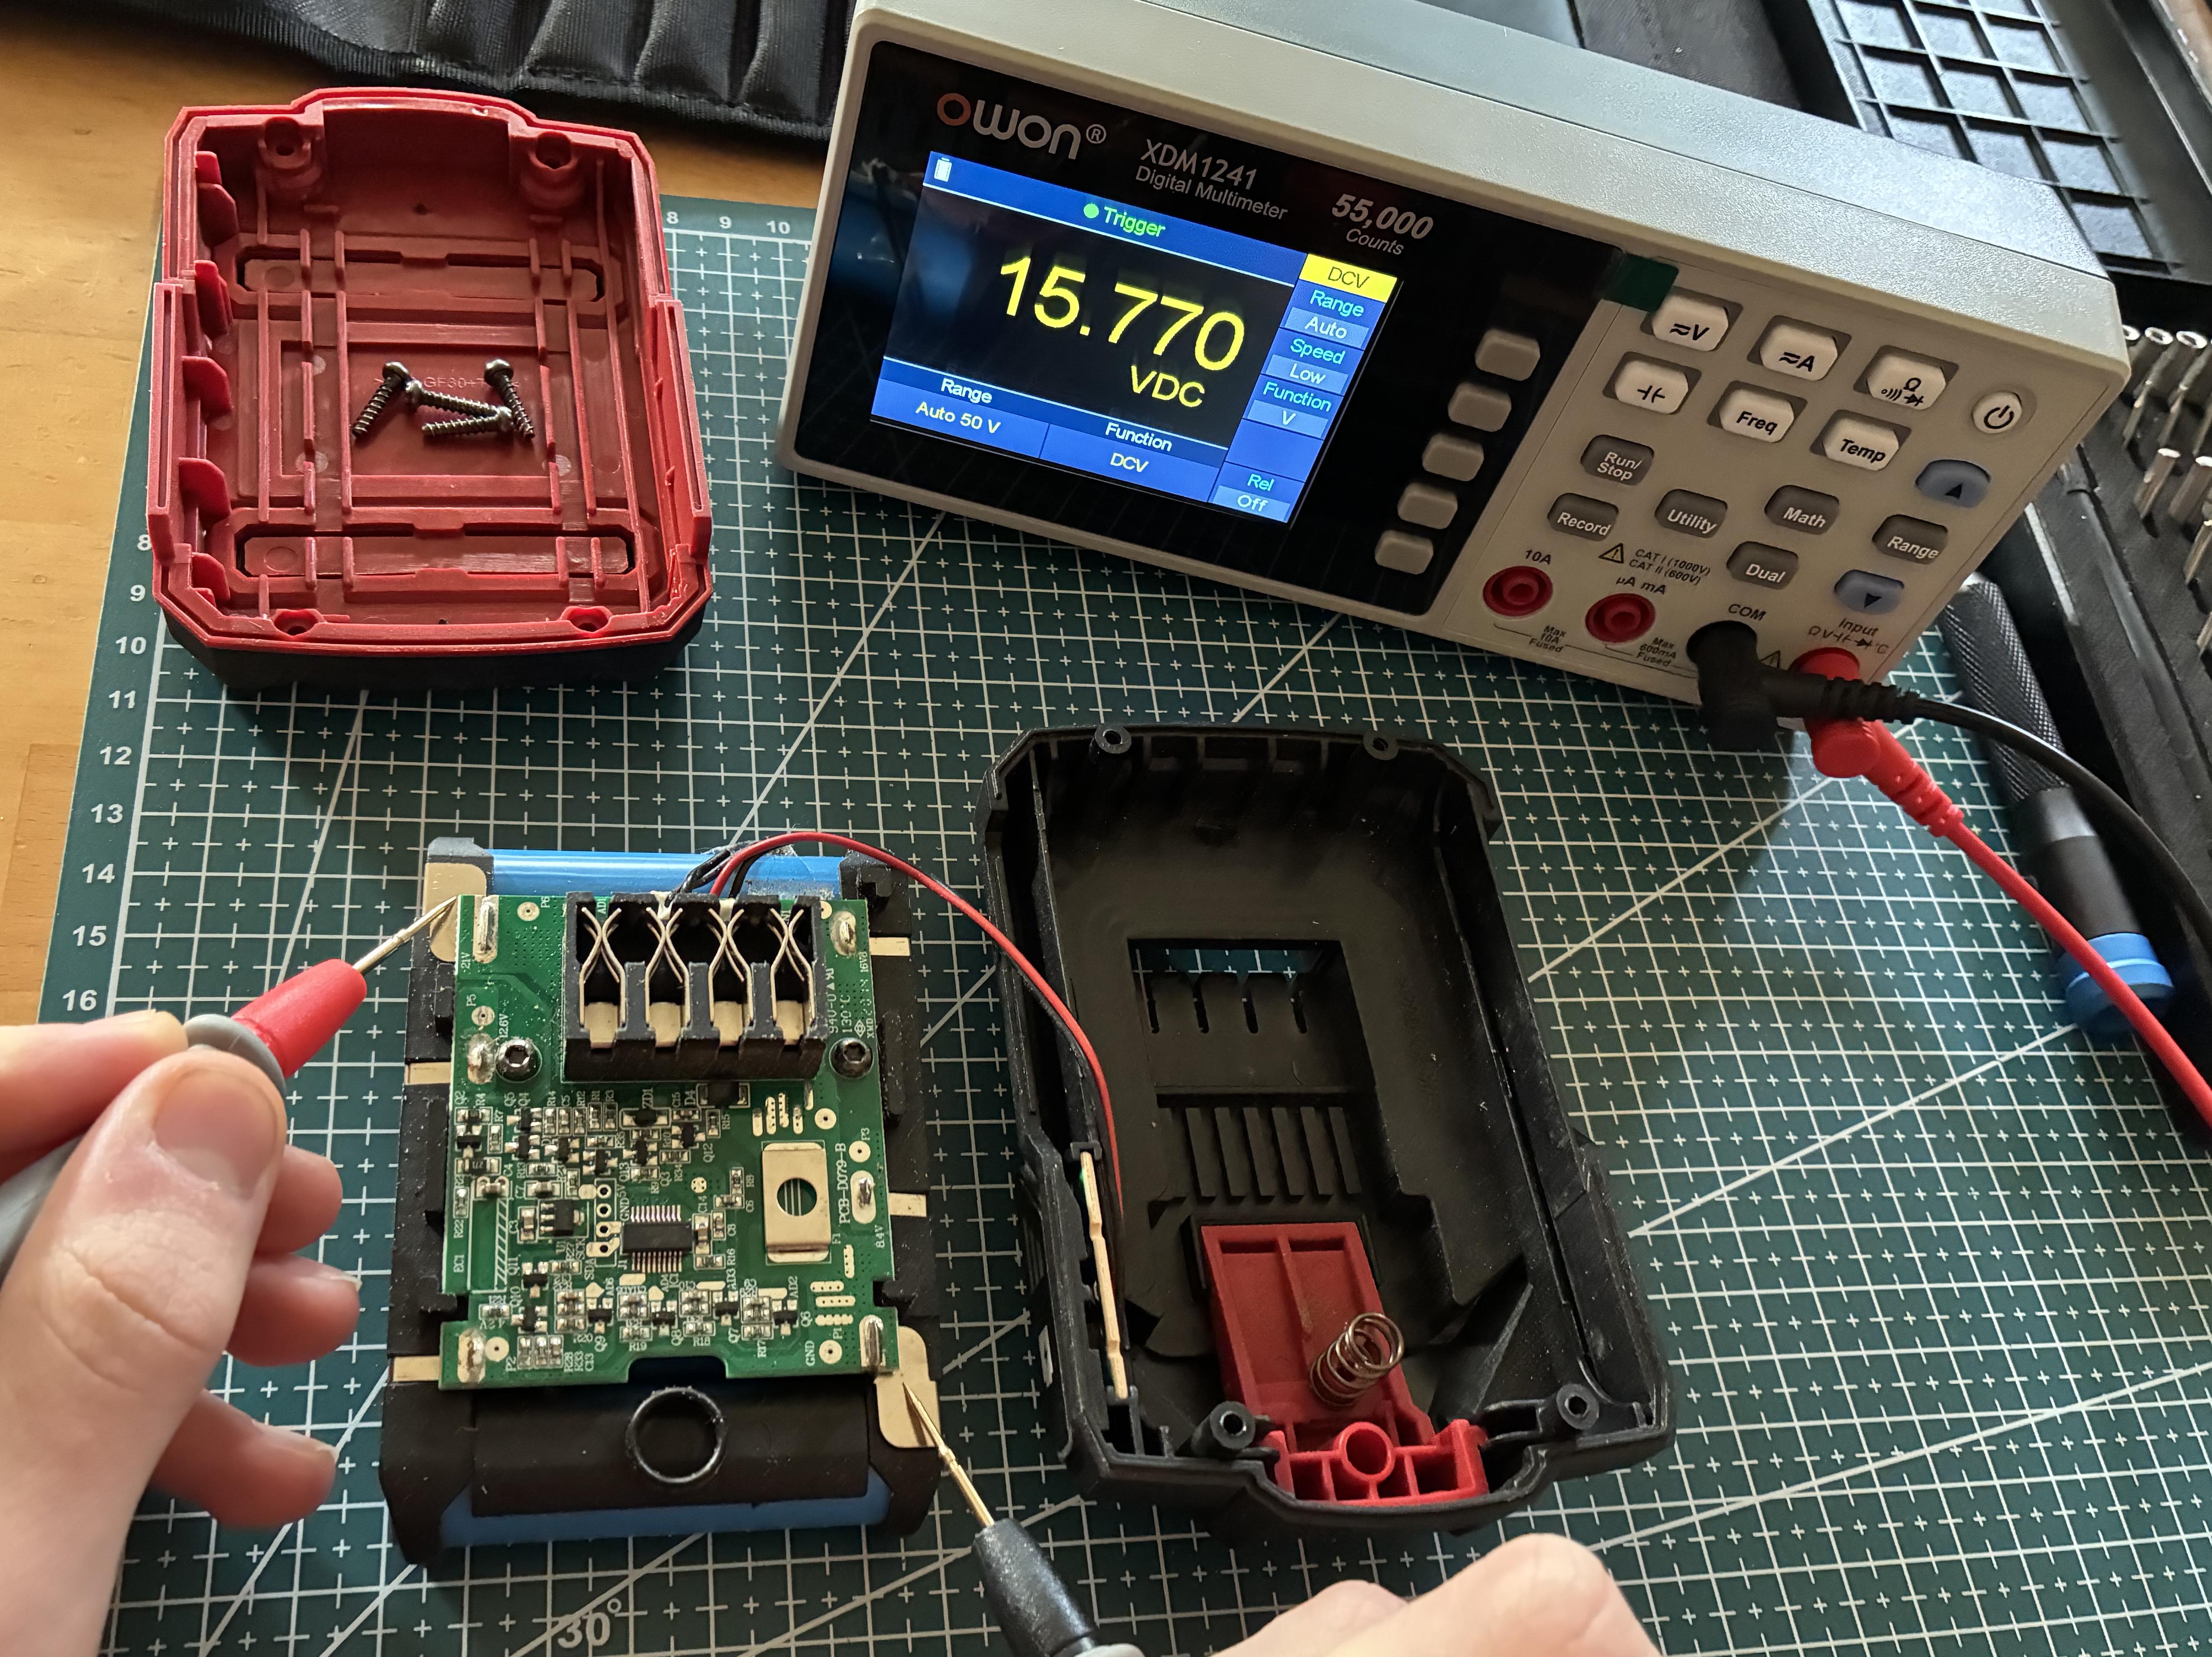
As expected, still 15.770 V – the pack voltage is simply too low.
Now the interesting part: I measured each cell individually. In a series string the polarity of the probes doesn’t matter – only the absolute value counts. Healthy Li-Ion cells should be between roughly 3.0 V (deep-discharged) and 4.2 V (full).
| Cell | Voltage |
|---|---|
| Cell 1 | 3.4641 V |
| Cell 2 | 3.4403 V |
| Cell 3 | 3.4501 V |
| Cell 4 | 3.4402 V |
| Cell 5 | 1.9241 V – deeply discharged |
Cell 1: 3.4641 V 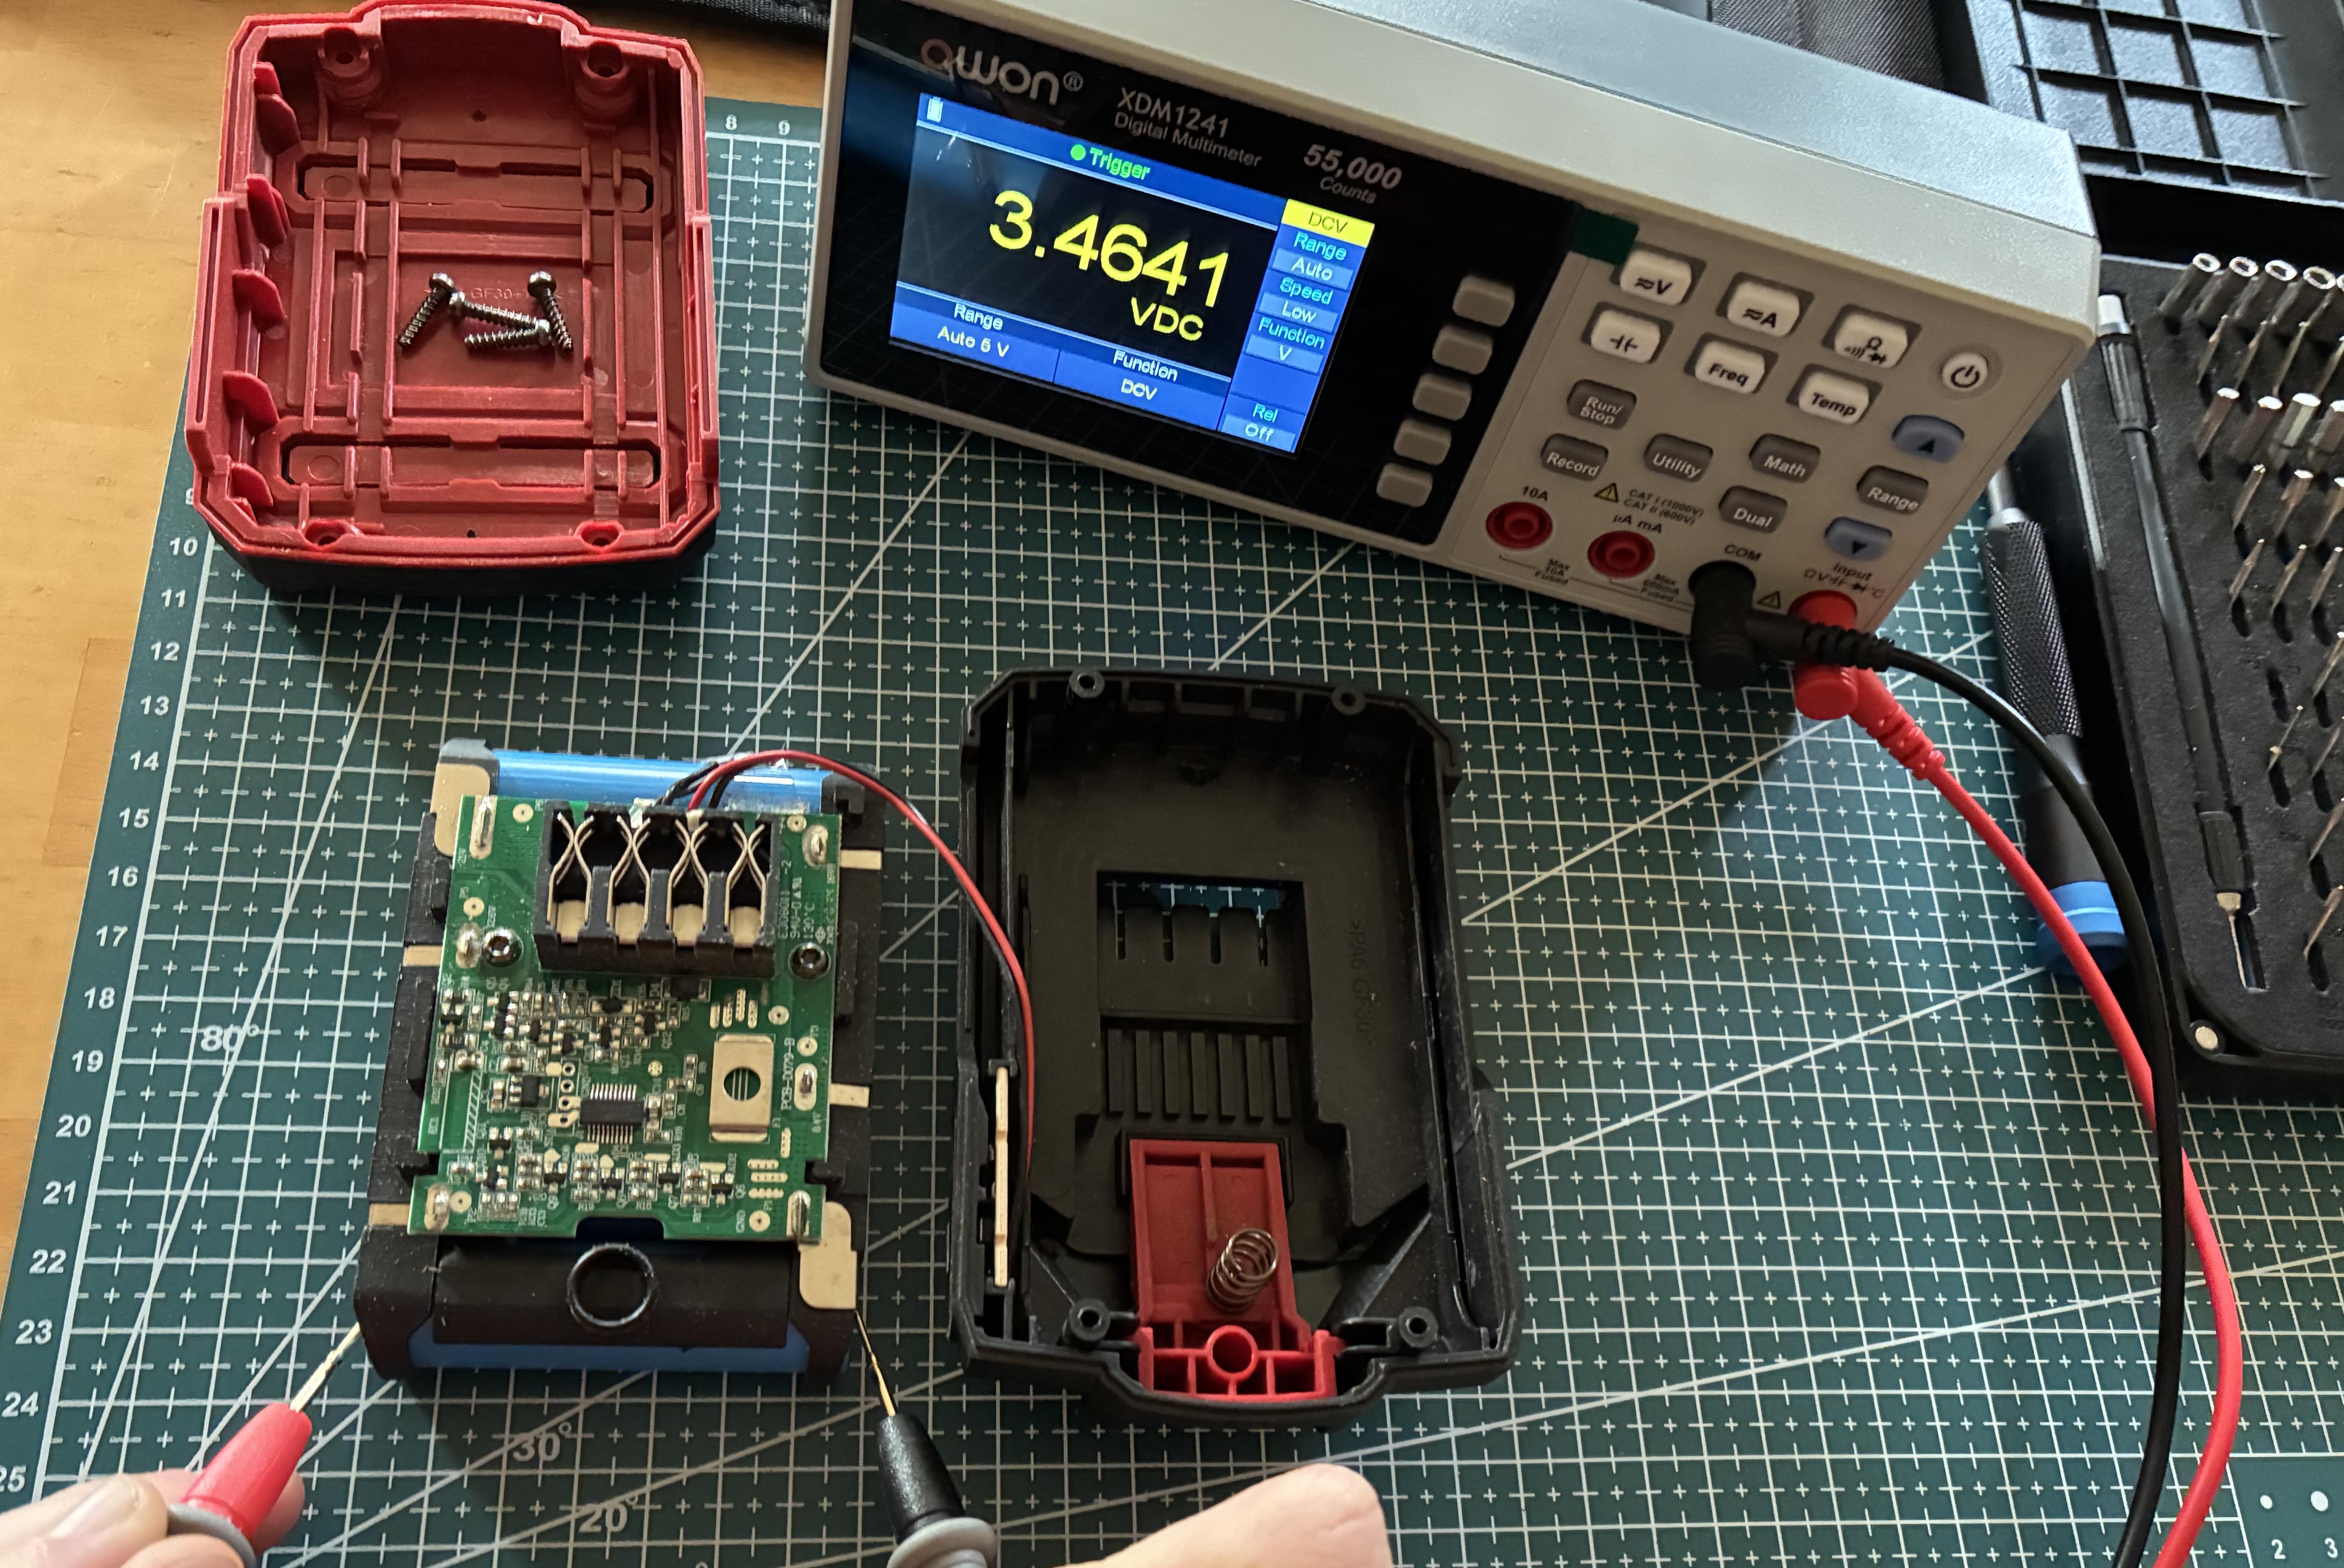
Cell 2: 3.4403 V 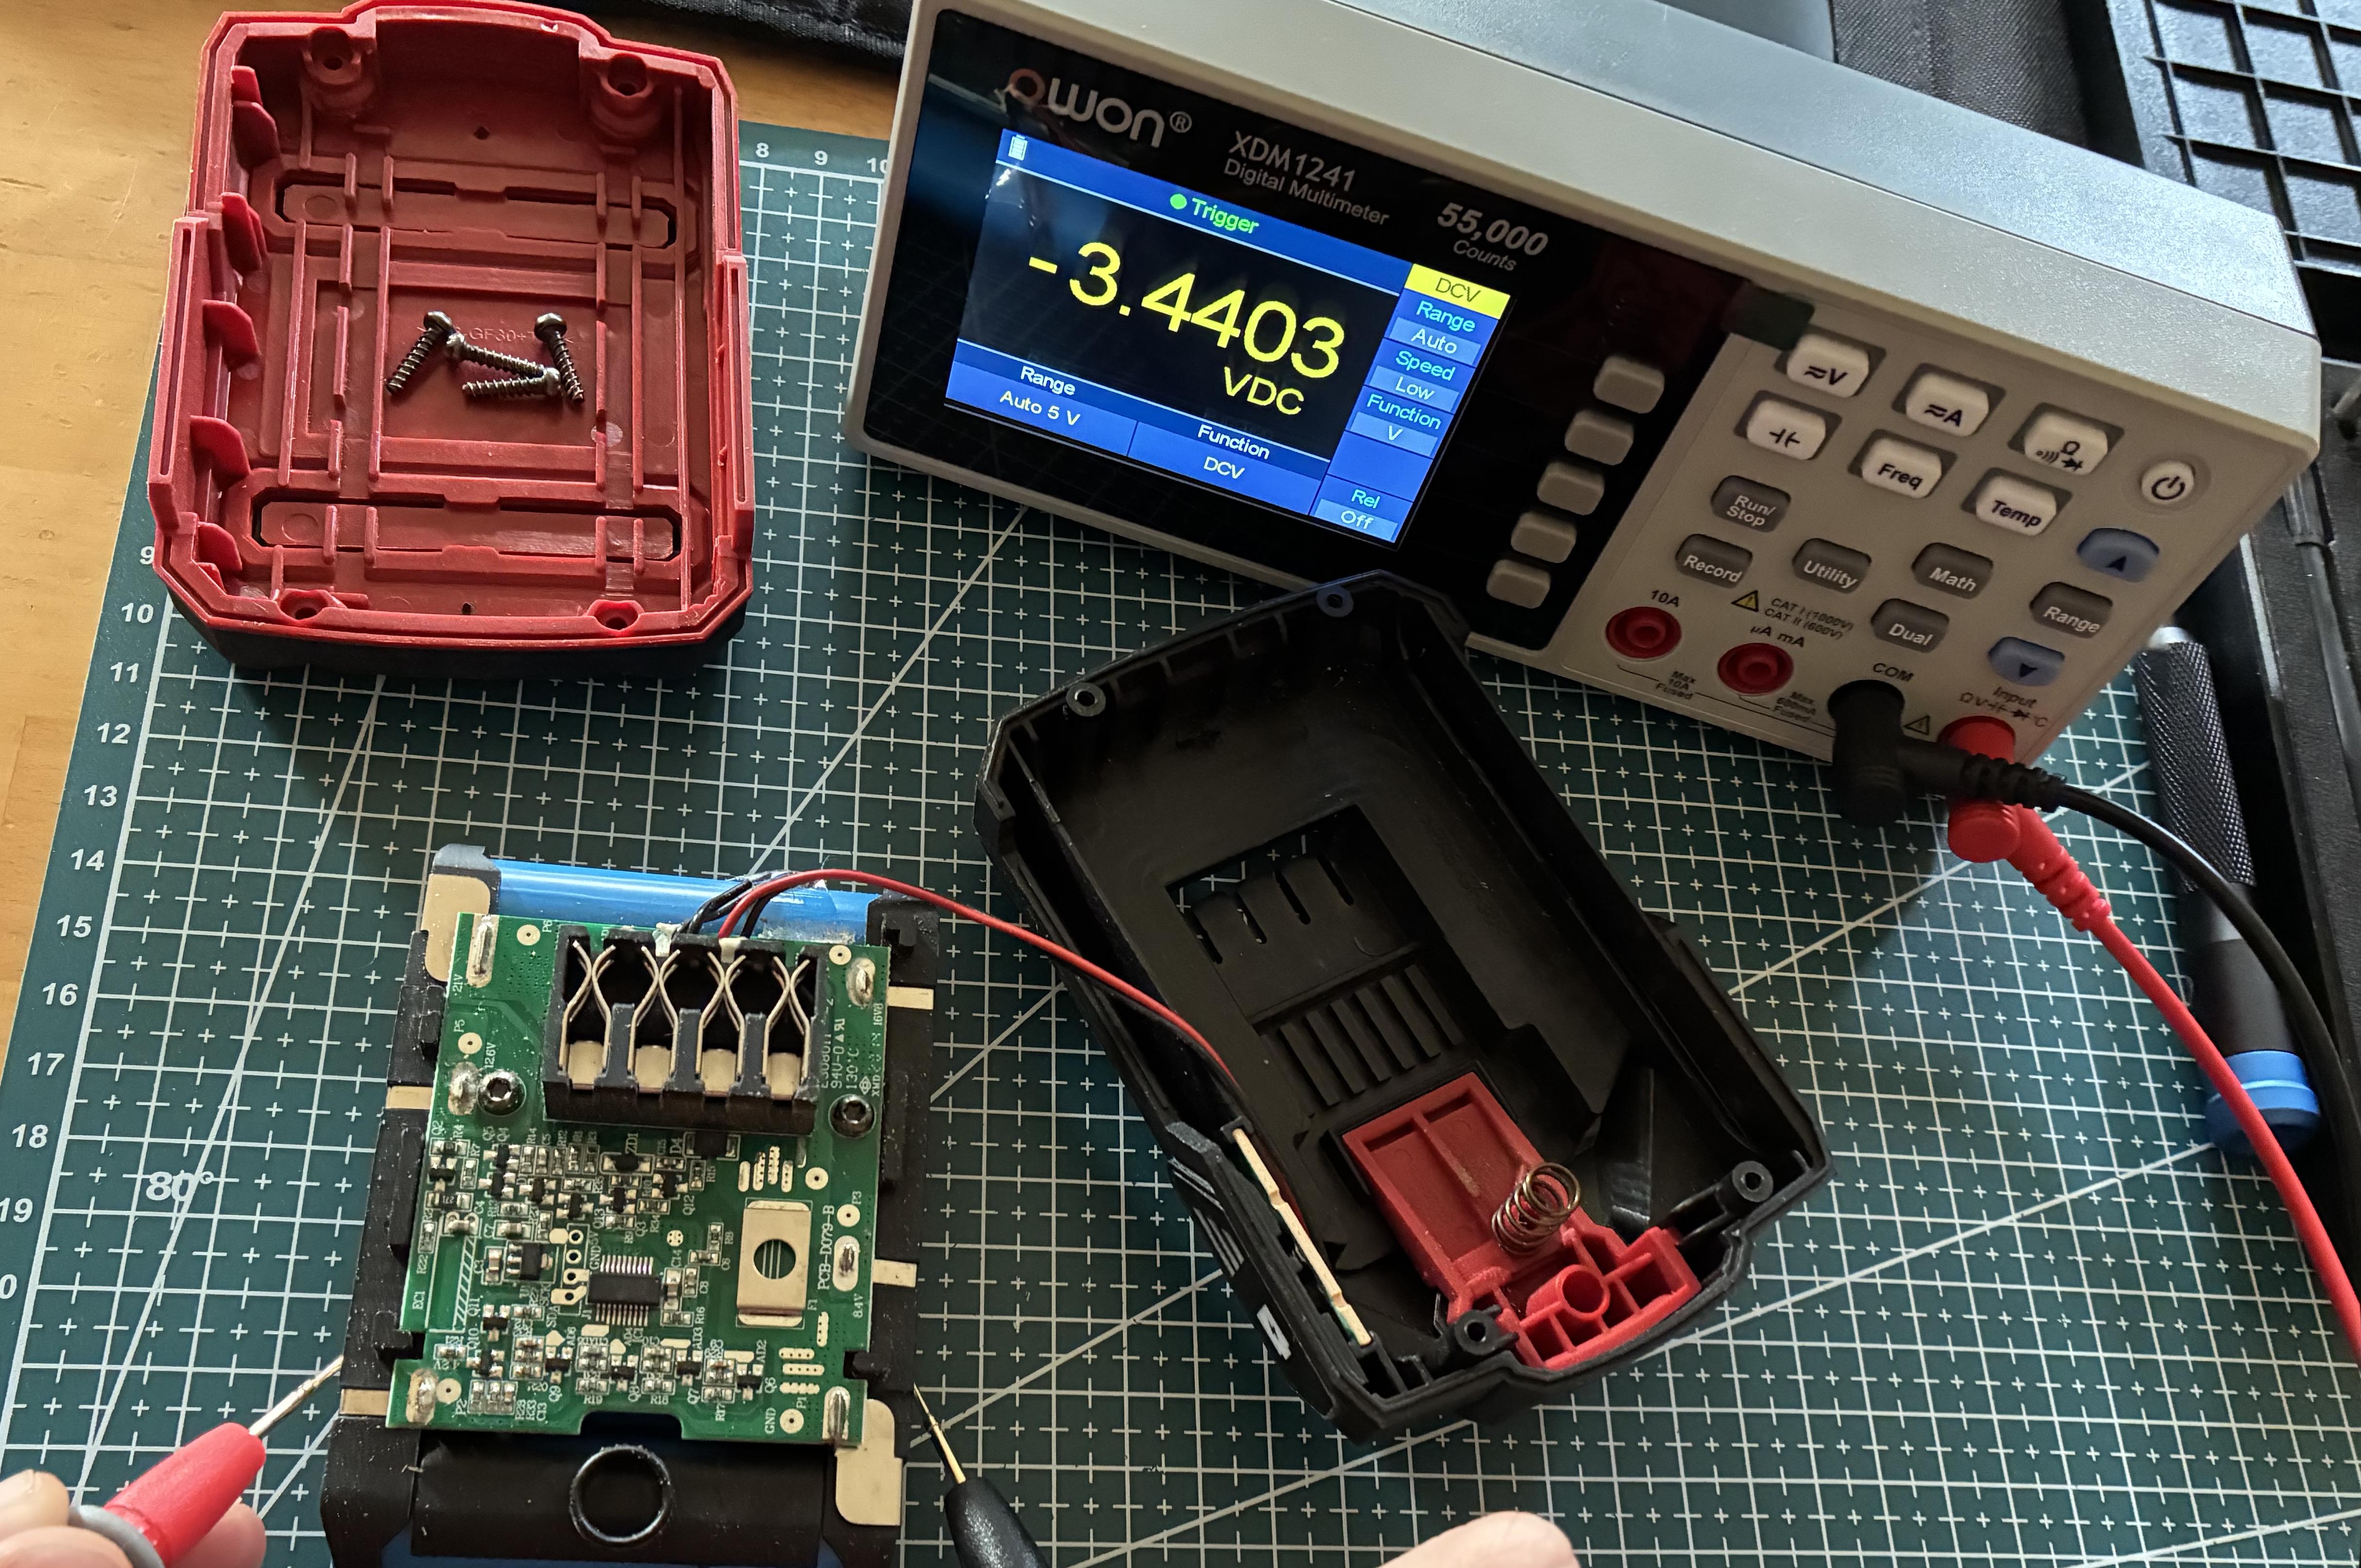
Cell 3: 3.4501 V
Cell 4: 3.4402 V
Cell 5: 1.9241 V – dead cell 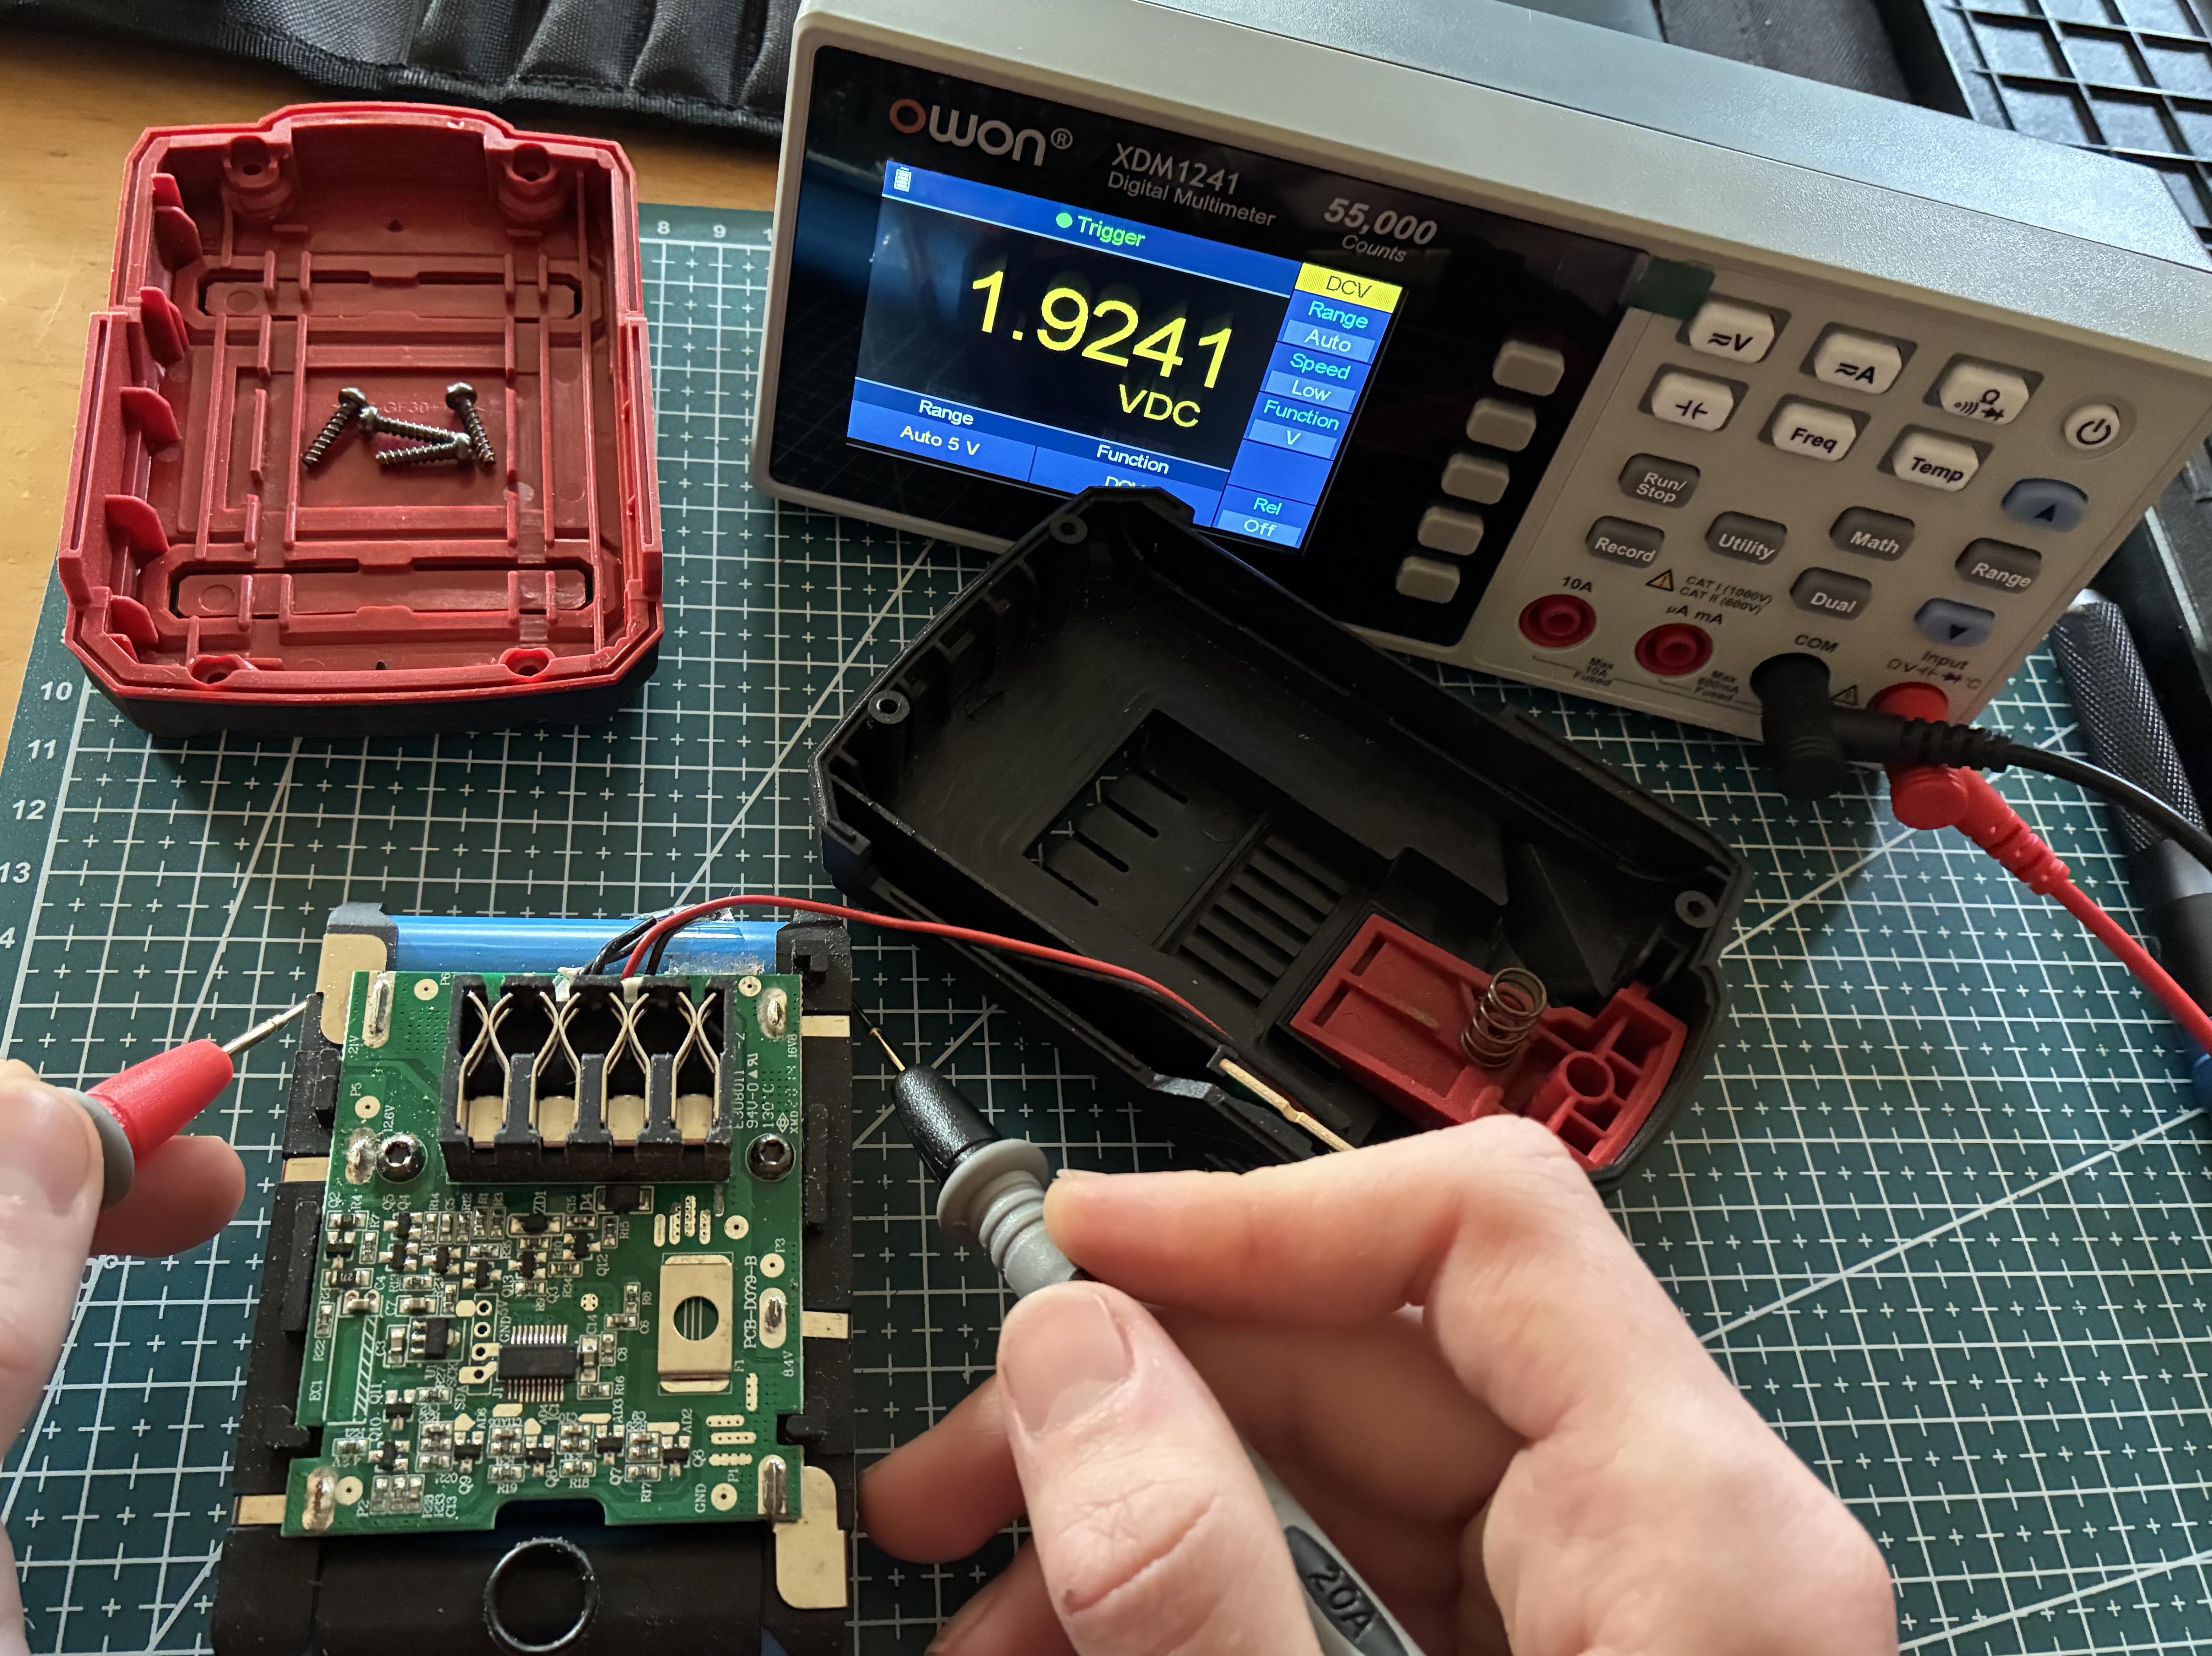
The first four cells were perfectly normal at around 3.4 V. The fifth cell was down to 1.9 V – deeply discharged and no longer functional. The BMS correctly shut down the entire output to prevent further discharge (and possible polarity reversal).
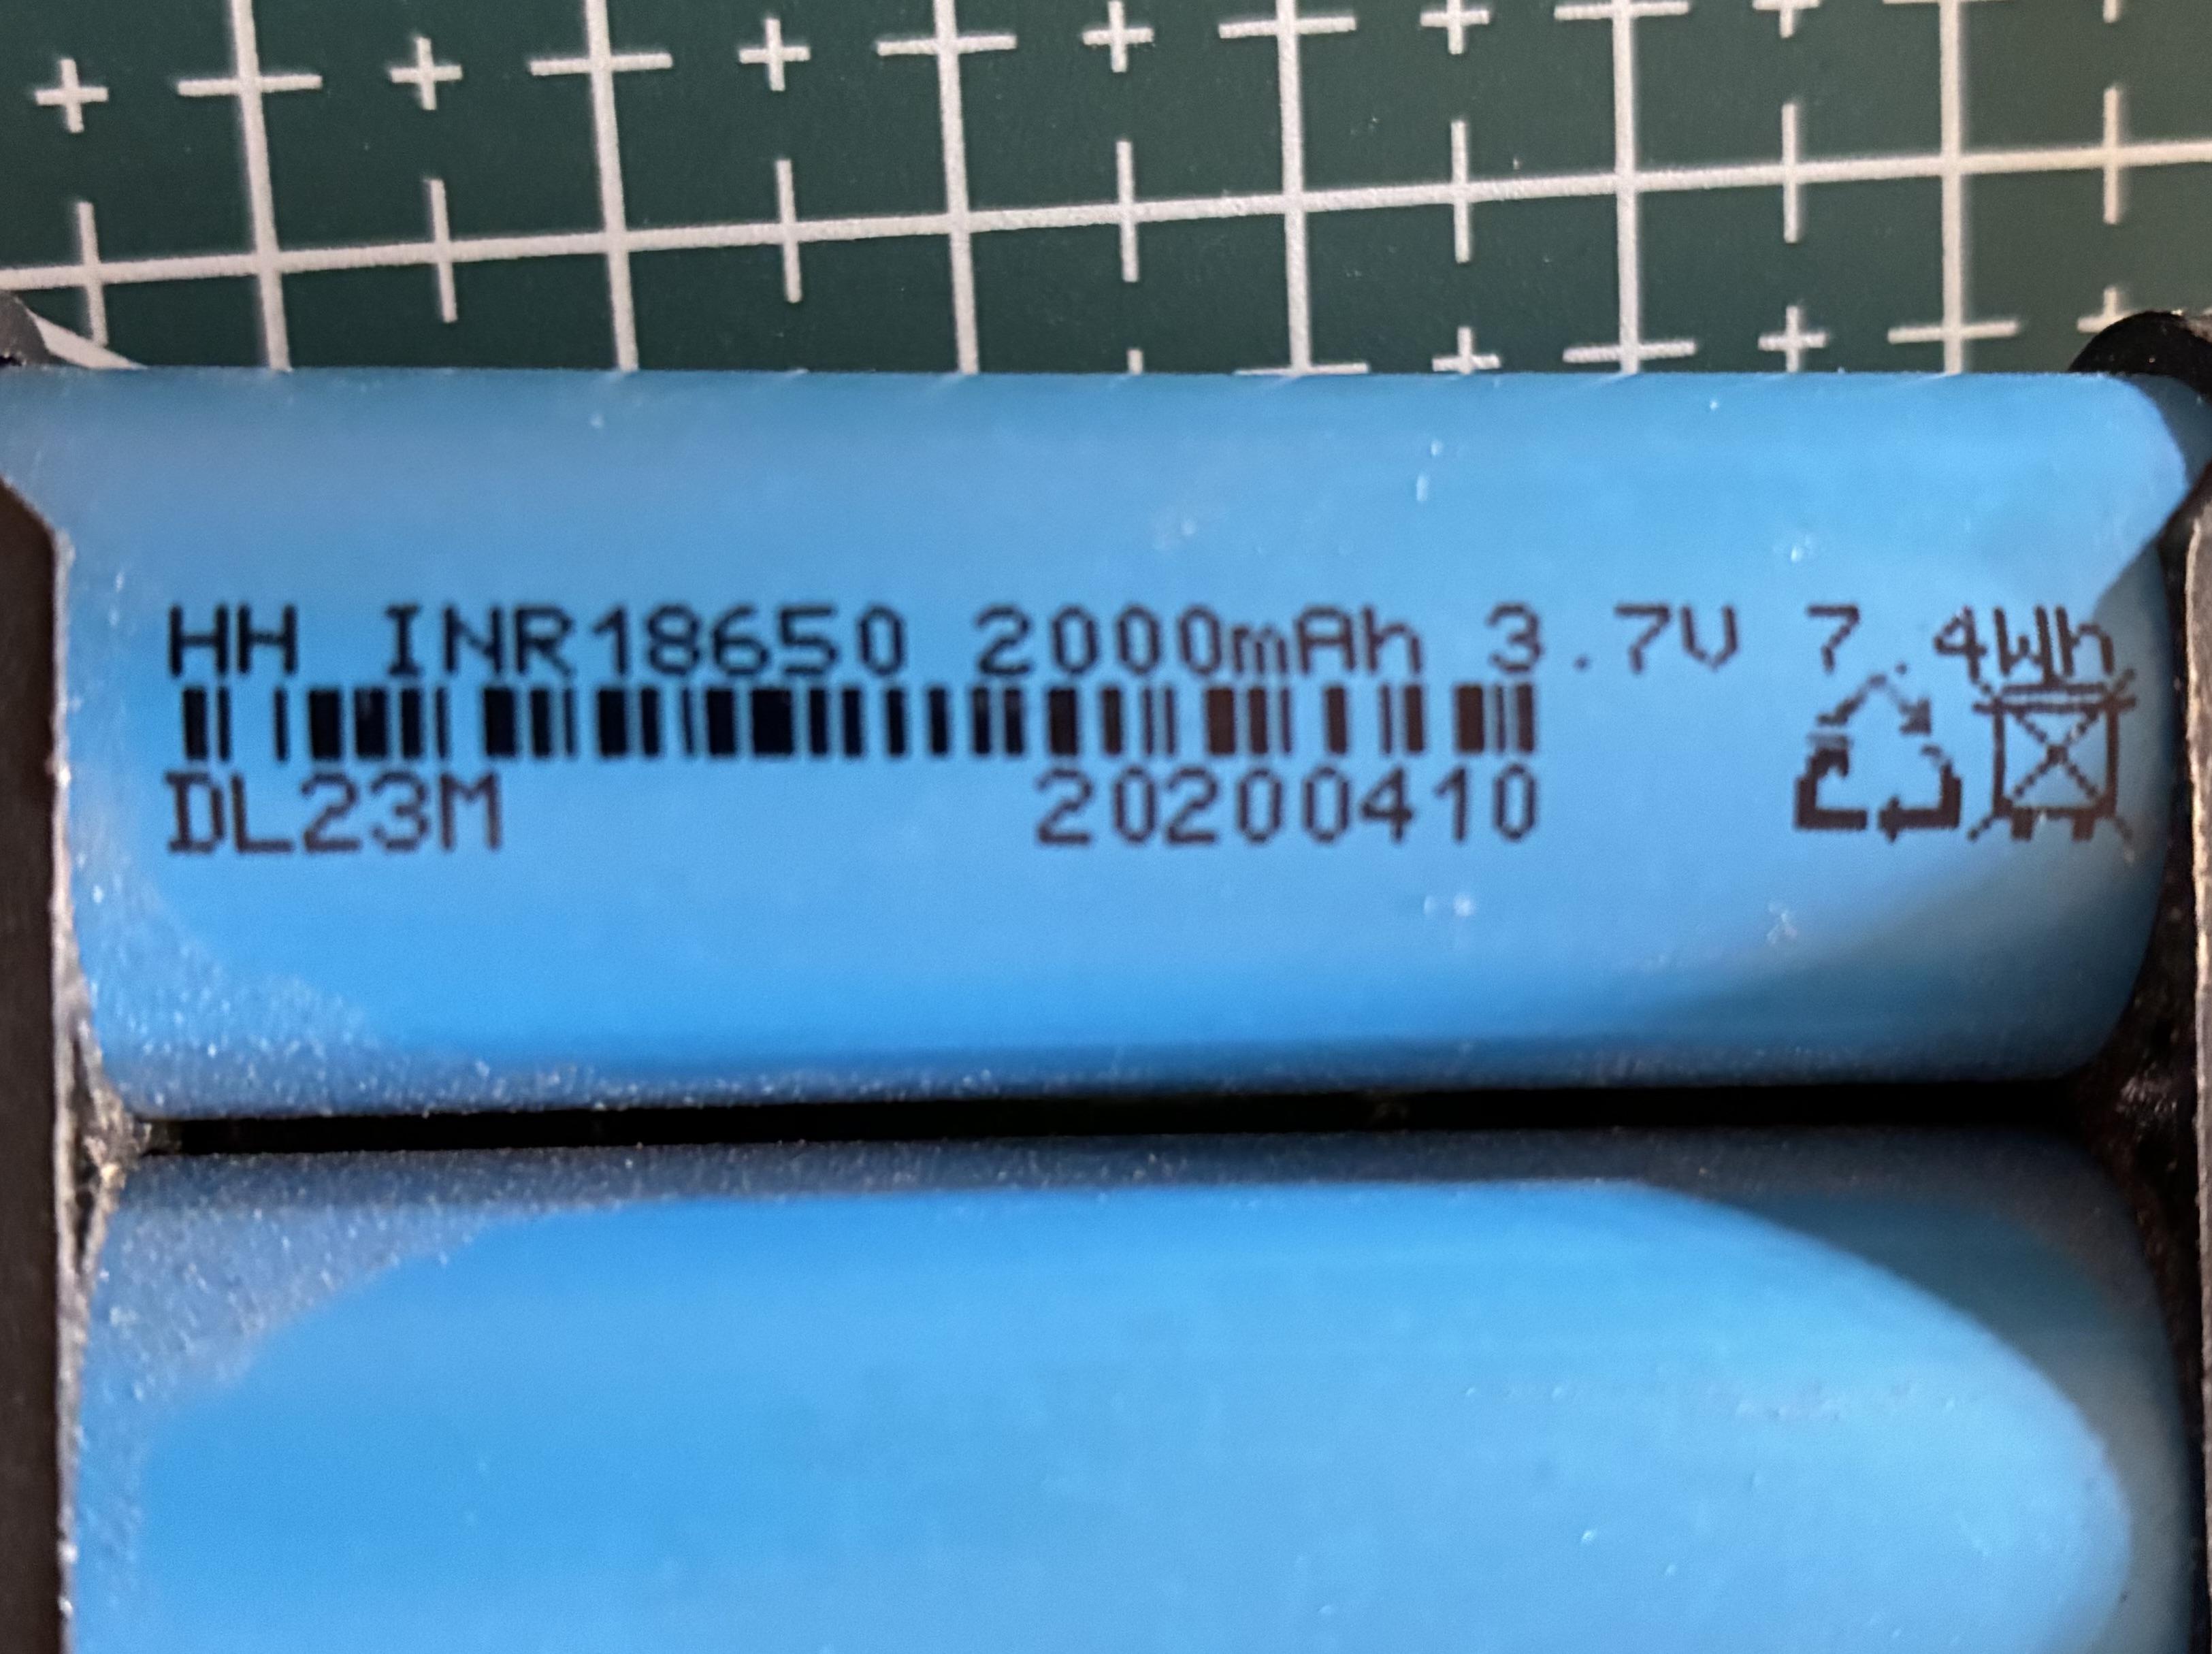
The cells are marked “INR18650” with a rated capacity of 2000 mAh.
Conclusion and what I learned #
Cheap tool batteries often use decent 18650 cells but pair them with a very basic BMS that has no active balancing.
A single failed cell renders the whole pack unusable because the charger detects the fault and refuses to charge for safety reasons.
Repair would be technically possible (replace the dead cell, spot-weld new nickel strips, re-balance), but at the original retail price it simply isn’t worth it for the manufacturer.
I carefully removed the four good cells and slowly brought them back to 3.7 V each with a TP4056 module. They work perfectly and will now live on in other projects :)
If you ever have a dead 20 V tool battery: first measure the total voltage. If it’s clearly below 16 V, one cell is usually gone. Never open the pack yourself!
Stay safe and see you in the next project!